What Makes Protein Balls the Perfect Snack?
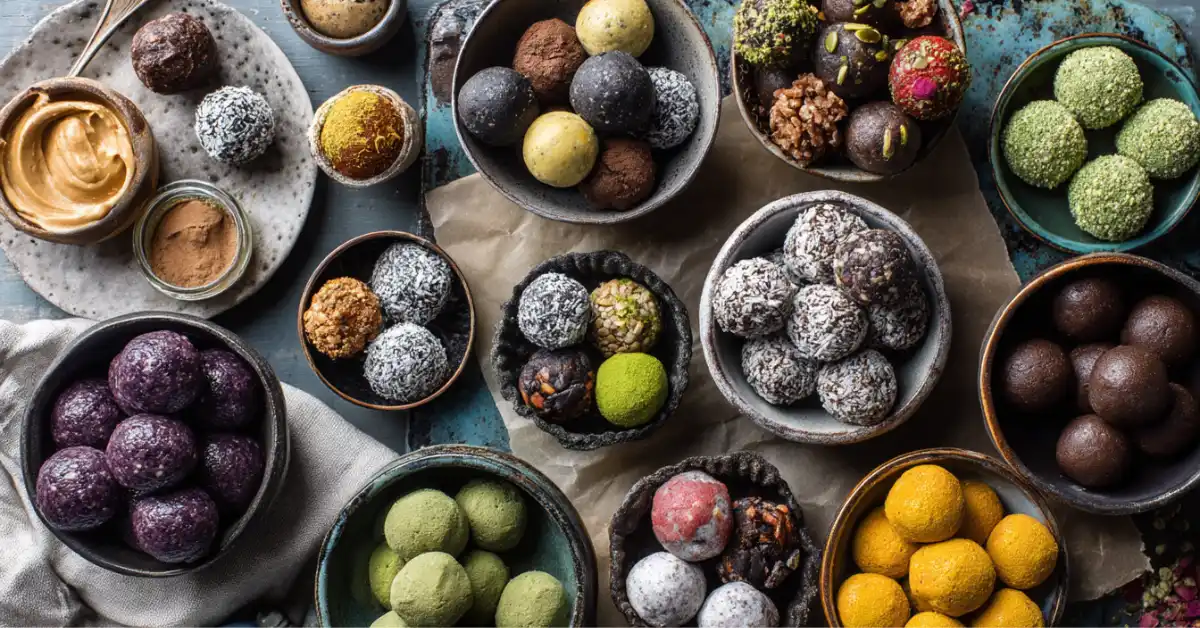
If you’re looking for a wholesome, grab-and-go snack that’s as satisfying as it is nourishing, you’re in the right place. Protein balls also known as energy bites or bliss balls are the perfect fusion of convenience, nutrition, and flavor. Whether you’re running between meetings, chasing toddlers, or just craving something sweet without the sugar crash, these little gems deliver.
At EatBrightly, I believe that food should be colorful, joyful, and deeply nourishing. Inspired by real ingredients and my own winding path through intuitive eating, today we’re diving into the complete guide to protein ball recipes from pantry basics to flavor-packed combos even picky eaters will love.
In this guide, you’ll learn:
- The key ingredients that make protein balls healthy and delicious
- How to customize your own recipe
- Tips to make your protein balls stick (literally)
- Answers to your most asked questions (like “Are protein balls actually healthy?”)
- Meal prep hacks to stock your freezer with nutrient-rich snacks
- Flavor combos you’ll crave all week
So grab your nut butter, roll up your sleeves, and let’s make snack time a little brighter.
Table of Contents
Table of Contents
Protein Ball Recipe 101: Everything You Need to Know
What Are Protein Balls?
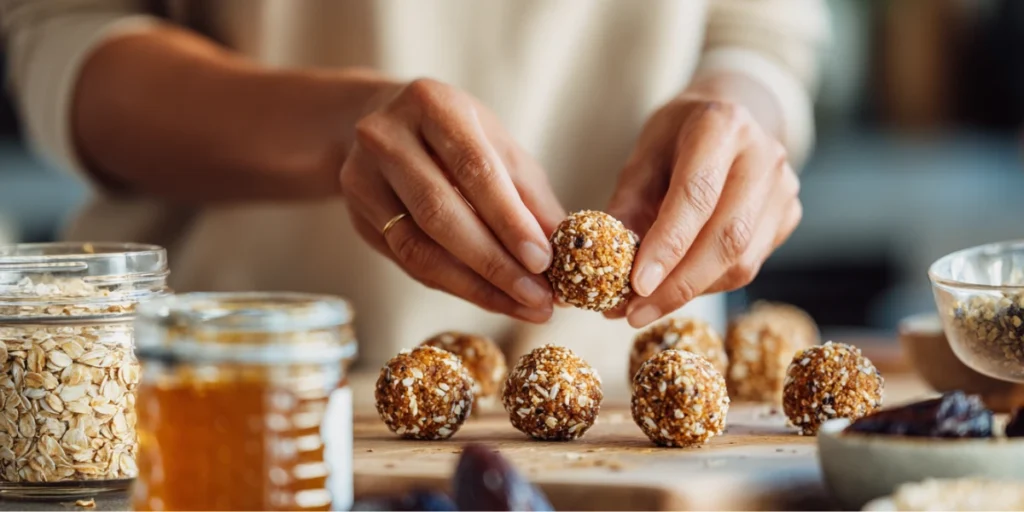
Protein balls are bite-sized snacks made from a simple mix of whole food ingredients like oats, nut butter, sweeteners (like honey or dates), and protein sources. They’re often rolled into small balls and stored in the fridge or freezer for easy, healthy snacking throughout the week.
Think of them as a cross between a cookie and a power bar but without the additives, preservatives, or mystery ingredients. Whether you’re looking for something to fuel your morning, a post-workout boost, or a sweet-but-healthy treat, protein balls fit the bill.
Also known as:
- Bliss balls
- Energy bites
- No-bake snack balls
- Clean eating treats
Protein balls are naturally gluten-free, often vegan, and completely customizable.
Benefits of Including Protein Balls in Your Diet
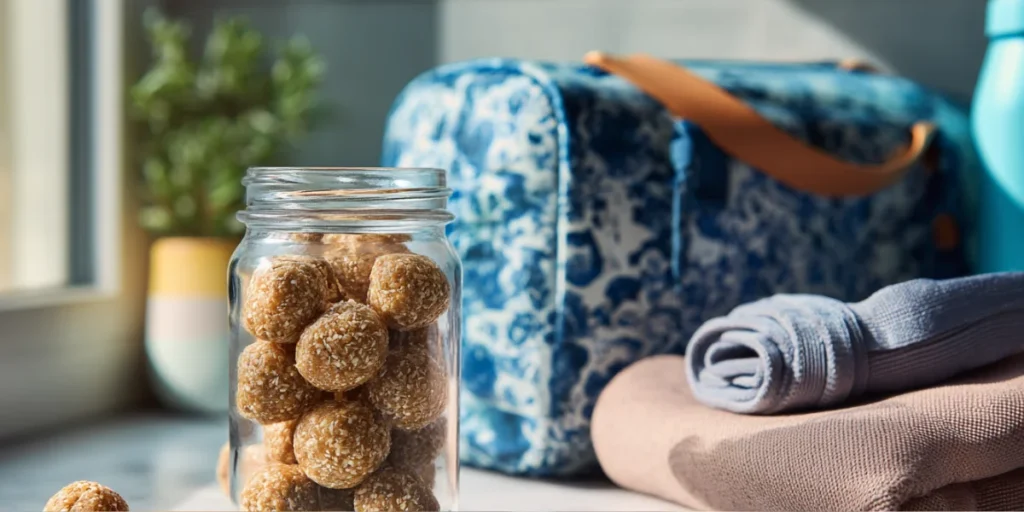
Here’s why I keep a batch of these in my fridge every week:
| Benefit | Why It Matters |
|---|---|
| Balanced Nutrition | Healthy fats, fiber, and protein keep you full longer. |
| Convenient | Make-ahead snacks that don’t require refrigeration (unless you like them cold like I do). |
| No Bake | No oven, no fuss — just mix, roll, and chill. |
| Customizable | From chocolate almond to lemon coconut, flavor options are endless. |
| Family Friendly | Kids love them, and they can help make them too. |
| Supports Healthy Eating Habits | Encourages whole food choices and limits processed snacks. |
So whether you’re new to healthy snacking or a seasoned prepper with mason jars of flaxseed on hand, protein balls offer a satisfying, energizing bite that’s both smart and simple.
Essential Ingredients for a Perfect Protein Ball Recipe
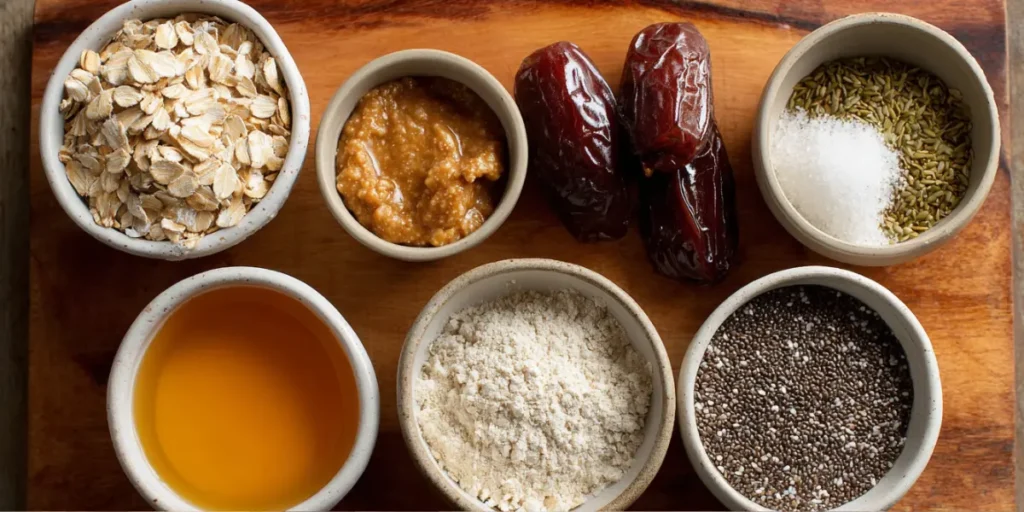
Creating the perfect protein ball recipe is part science, part art and all about real, nutrient-dense ingredients. Whether you’re building a basic 4-ingredient version or layering in superfoods, here’s a breakdown of the must-have components that make protein balls both delicious and functional.
Natural Sweeteners: Dates, Honey, and Maple Syrup
Protein balls don’t need refined sugar. Nature already gave us sweet, sticky, and nutritious alternatives that hold everything together.
- Medjool Dates – Rich in fiber, iron, and natural sugars. They’re the sticky base of most no-bake energy bites.
- Raw Honey – A natural antibacterial with enzymes and antioxidants. Great for immunity and energy.
- Maple Syrup – Perfect for a vegan option. Adds deep flavor and smooth texture.
These not only sweeten the mix but also help bind your protein balls together. When choosing, go for organic or raw whenever possible to retain more nutrients.
| Sweetener | Flavor Profile | Best Use |
|---|---|---|
| Dates | Caramel-like, rich | Great for chocolate or nut-based balls |
| Honey | Light, floral | Works well with oats and seeds |
| Maple Syrup | Earthy, robust | Ideal for fall-inspired flavors (like pumpkin spice) |
Instead of refined sugar, dates are a powerhouse ingredient. They’re naturally sweet, rich in fiber, and full of minerals. As Healthline notes about dates, these little fruits provide antioxidants and long-lasting energy, making them a perfect binder for energy bites.
Protein Sources: Whey, Plant-Based, and Nut Butters
Here’s where the protein in protein balls comes in. Each of these options gives your snack staying power, helping you feel fuller longer and supporting post-workout recovery.
- Nut Butters – Peanut, almond, or cashew butter adds creaminess, protein, and healthy fats.
- Protein Powders – Choose clean, unsweetened versions (whey, pea, hemp, or brown rice).
- Seeds – Hemp seeds, chia, and flaxseeds offer protein + omega-3s.
Pro Tip: For best texture, avoid gritty or overly processed protein powders. And if you’re using a plant-based one, go for something mild so it doesn’t overpower your flavor profile.
| Protein Source | Protein Per Serving | Bonus Nutrients |
|---|---|---|
| Almond Butter | ~7g per 2 tbsp | Vitamin E, magnesium |
| Pea Protein Powder | ~20g per scoop | Iron, lysine |
| Hemp Seeds | ~10g per 3 tbsp | Omega-3s, zinc |
These ingredients do more than just up your protein intake they contribute to texture, flavor, and the satisfying chew that makes protein balls so crave-worthy.
Next, we’ll explore how to put these ingredients together and build your own base recipe.
How to Make Your Own Protein Ball Recipe at Home
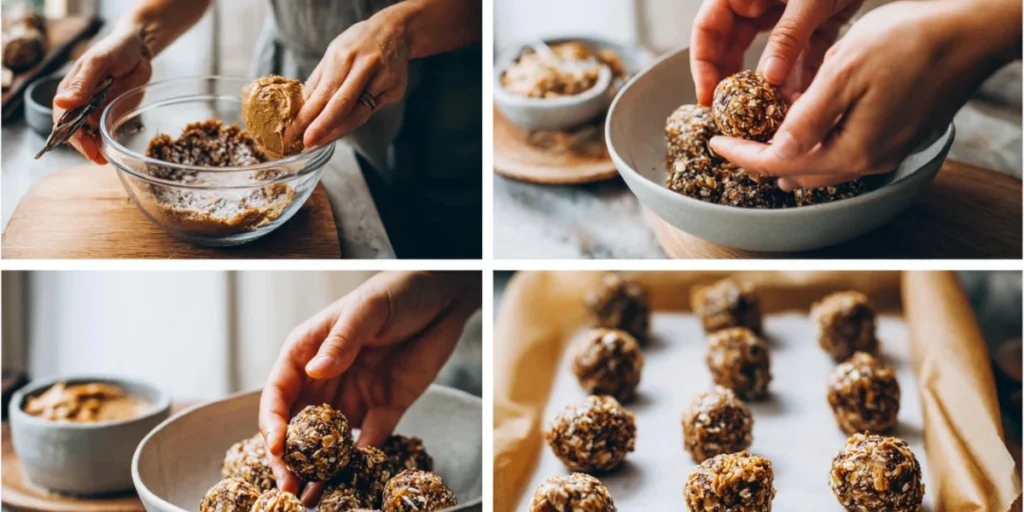
Making your own protein ball recipe is easier than you might think no baking, no fancy equipment, just one bowl and a few pantry staples. Once you get the basic formula down, it becomes a blank canvas for flavor experimentation.
Step-by-Step Instructions for Beginners
Here’s the simple, foolproof process I use to make my go-to batch of protein balls:
Base Recipe:
- 1 cup rolled oats
- ½ cup nut butter (peanut, almond, or cashew)
- ⅓ cup natural sweetener (honey, maple syrup, or 6 pitted dates)
- ¼ cup protein powder
- Optional: 2–3 tbsp add-ins (chia seeds, chocolate chips, coconut flakes)
Instructions:
- Mix the Wet Ingredients
In a large bowl, stir together your nut butter and sweetener until smooth. If you’re using dates, blend them into a paste first. - Add the Dry Ingredients
Stir in oats, protein powder, and any dry add-ins. Mix until everything is well combined. - Adjust Texture
If it feels too dry, add a tablespoon of milk (dairy or plant-based). If too wet, add more oats or protein powder. - Chill the Dough
Refrigerate the mixture for 10–15 minutes to make it easier to roll. - Roll Into Balls
Use a tablespoon or small scoop to portion, then roll into balls using your hands. - Store and Snack
Keep them in an airtight container in the fridge for up to 1 week or freeze for longer storage.
| Quantity | Number of Balls |
|---|---|
| Single Batch | 12–14 balls |
| Double Batch | 24–28 balls |
Tools and Kitchen Equipment Needed
You don’t need a chef’s kitchen to make great protein balls. Here’s what I use every time:
- Large Mixing Bowl – For combining all your ingredients
- Spatula or Wooden Spoon – Helps scrape every last bit
- Food Processor (Optional) – Great for date-based recipes
- Tablespoon or Cookie Scoop – For portioning evenly
- Airtight Container or Glass Jar – For storing your bites
- Parchment Paper (Optional) – Prevents sticking during storage
Pro Tip: A silicone baking mat makes cleanup even easier if you’re batch-rolling for meal prep.
With this simple method, you’ll never be more than 15 minutes away from a healthy, homemade snack that tastes as good as it feels.
The 4-Ingredient Power Balls Formula
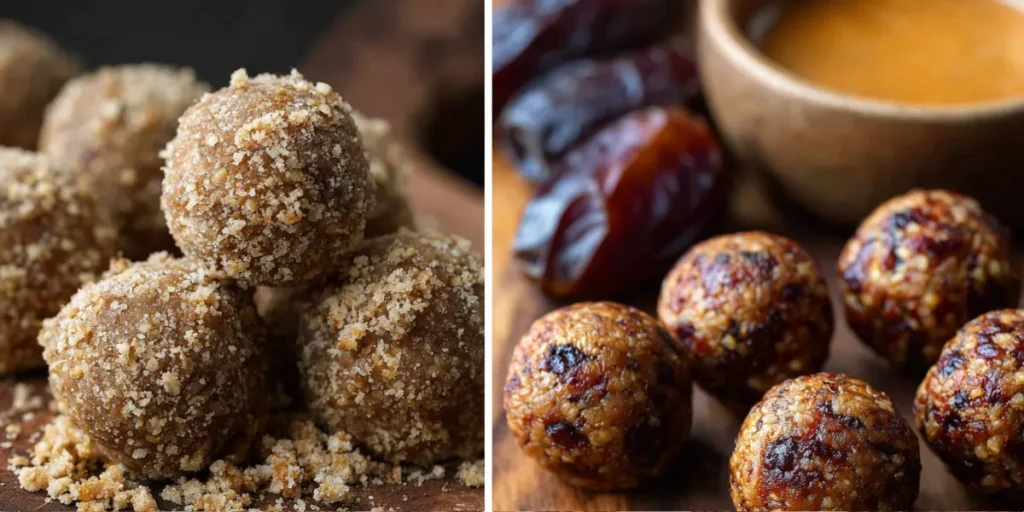
Busy schedule? Short pantry list? No problem. One of the best things about protein balls is how easy they are to simplify. With just four clean ingredients, you can whip up delicious, nutrient-packed energy bites in minutes no blender, no oven, no excuses.
Minimalist Protein Ball Recipe Breakdown
Here’s a foolproof 4-ingredient protein ball base you can customize endlessly:
The Formula:
- 1 cup rolled oats
- ½ cup nut butter
- ⅓ cup sweetener (maple syrup, honey, or 6 pitted Medjool dates)
- ¼ cup protein powder
This ratio strikes a perfect balance between chewy, sticky, and protein-rich. Roll the mixture into 1-inch balls and refrigerate for 20 minutes before eating.
| Ingredient | Function |
|---|---|
| Oats | Adds bulk + fiber |
| Nut Butter | Acts as binder + healthy fat source |
| Sweetener | Gives flavor + stickiness |
| Protein Powder | Boosts nutritional content |
Quick Variations with 4 Ingredients Only
Here are a few fun, minimal-effort twists that keep things interesting:
| Flavor | Swap Ideas |
|---|---|
| Chocolate Almond | Almond butter + chocolate protein powder + honey + oats |
| Coconut Vanilla | Cashew butter + vanilla protein + maple syrup + oats |
| PB&J | Peanut butter + vanilla protein + date paste + chopped dried strawberries |
| Mocha Crunch | Almond butter + chocolate protein + espresso powder + oats |
| Tahini Turmeric | Tahini + vanilla protein + honey + rolled oats + pinch of turmeric (ok, that’s 5 — but worth it) |
Tips for Success:
- If using dates, blend them with nut butter before mixing for smoother texture.
- Too crumbly? Add a splash of plant milk or more nut butter.
- Too wet? Sprinkle in more oats or protein powder to firm up the mix.
Short on time doesn’t have to mean short on flavor and with these 4-ingredient formulas, you’ll never run out of ways to make snack time deliciously simple.
Feeling inspired and want to explore even more creative bases and appearances of protein balls? Be sure to check out my 5 Best Energy Bite Recipes, it’s packed with diverse options like chocolate protein balls, peanut butter oatmeal bites, vegan and keto varieties. For a streamlined, fuss-free option, the No-Bake Protein Balls shares a quick, classic recipe that hits all the highlights: oats, nut butter, protein, and a sweetener ready in no time and perfect for meal prep.
How to Get Protein Balls to Stick Together
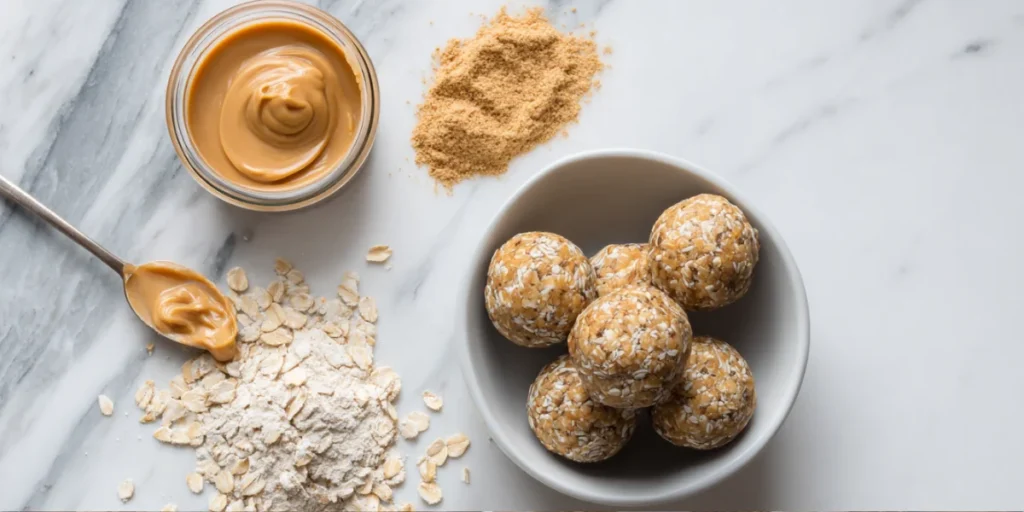
One of the biggest frustrations when making protein balls? Crumbly, dry mixtures that just won’t roll. Whether you’re using oats, seeds, powders, or chunky add-ins, the trick is in balance and binding.
Let’s break down how to make your protein balls actually stick without compromising taste or texture.
Common Mistakes and How to Avoid Them
Mistake 1: Too Much Dry Ingredient
Packing in too much protein powder or oats soaks up moisture fast, making it tough to roll.
Fix: Start with less dry ingredients and add gradually. You can always build up the texture but it’s hard to walk back once it’s too dry.
Mistake 2: Not Enough Binder
If your recipe is all oats and powder with just a little nut butter or sweetener, it won’t hold.
Fix: Add an extra tablespoon of nut butter, honey, or even coconut oil to improve moisture and help the mixture hold its shape.
Mistake 3: Skipping the Chill Time
Trying to roll freshly mixed dough before it firms up leads to sticky hands and messy balls.
Fix: Chill the mixture for 10–20 minutes before rolling especially if you’re using sticky ingredients like dates or maple syrup.
Mistake 4: Using Gritty Protein Powder
Some protein powders (especially cheap or flavored varieties) can mess with the texture and dryness of your mix.
Fix: Use clean, smooth-mixing powders or replace part of it with ground seeds for a softer bite.
Binding Agents That Work Best: Nut Butter, Syrups, and Dates
These ingredients act like the glue that holds your balls together:
1. Nut and Seed Butters
- Almond, peanut, cashew, tahini, sunflower seed all work wonders
- Smooth texture = better binding
- Healthy fats = rich, satisfying bites
2. Sticky Sweeteners
- Honey, brown rice syrup, maple syrup
- High viscosity helps grip the dry ingredients and prevent crumbling
- Use at room temp so it’s easier to mix
3. Medjool Dates or Date Paste
- Sticky, naturally sweet, and packed with fiber
- Can be blended with nut butter for a smooth, brownie-like consistency
| Binder | Best For | Tips |
|---|---|---|
| Nut Butter | Creamy base | Avoid dry or separated jars |
| Honey | Traditional binder | Best for chewy texture |
| Dates | Whole food sweetness | Blend for best results |
Pro Tip: You can also add a splash of liquid like almond milk or brewed coffee to help fix overly dry mixtures without thinning them too much.
Mastering stickiness is half the battle once you get it right, your energy bites will roll easier, hold better, and store longer.
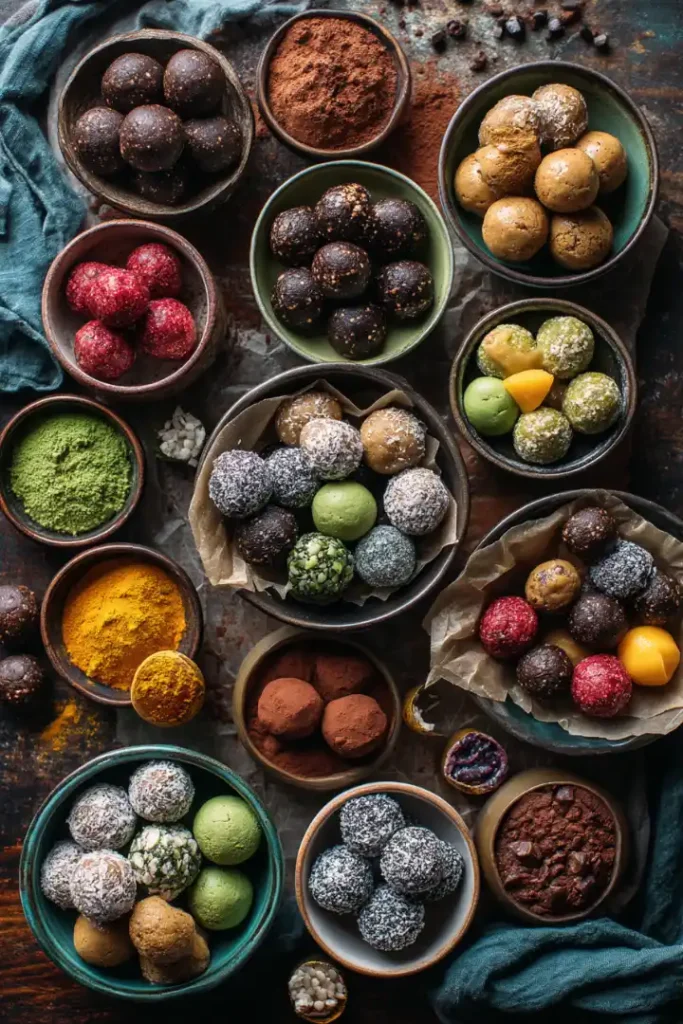
10 Popular Protein Ball Flavors and Add-Ins
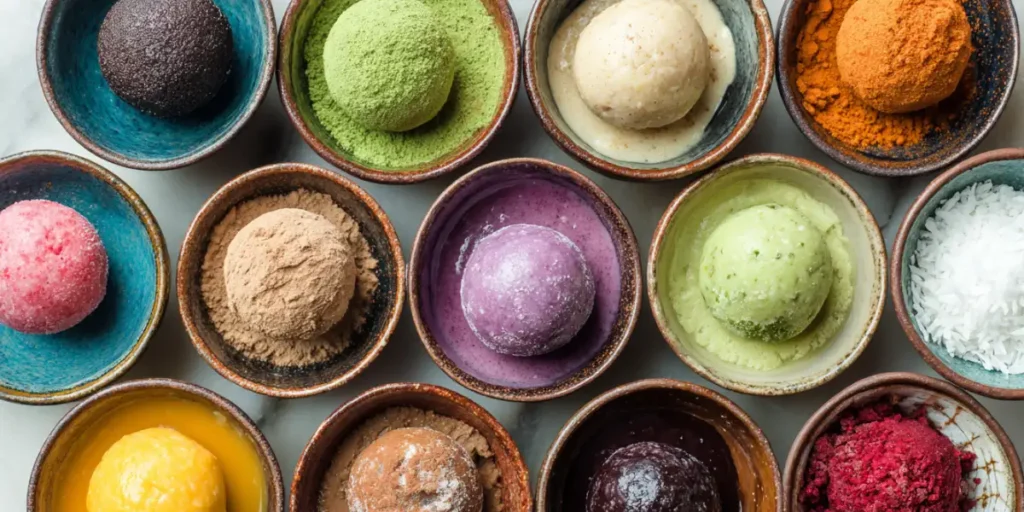
Now that you’ve nailed the base, let’s have some fun with flavor profiles and functional add-ins. Whether you’re craving chocolatey indulgence or a citrusy pick-me-up, these 10 popular flavor combos bring your protein balls to life with ingredients that taste great and support your health goals.
Chocolate Peanut Butter Crunch
A timeless combo that never fails.
Add-ins:
- Cacao powder
- Mini dark chocolate chips
- Crushed peanuts
Boost: Add a sprinkle of sea salt on top for that sweet-salty bite.
Matcha Coconut Energy Bites
Earthy, energizing, and great for mornings.
Add-ins:
- Matcha powder
- Unsweetened shredded coconut
- Vanilla protein powder
Boost: Roll the balls in extra coconut for a snowball effect.
Lemon Chia Zest Balls
Bright, citrusy, and full of fiber.
Add-ins:
- Fresh lemon zest
- Chia seeds
- Vanilla extract
Boost: Add a pinch of turmeric for an anti-inflammatory kick.
Mocha Espresso Power Balls
The snack that wakes you up.
Add-ins:
- Ground espresso or instant coffee
- Cacao nibs
- Almond butter
Boost: Top with a light dusting of cocoa powder before chilling.
Pumpkin Spice Pecan
A fall favorite year-round.
Add-ins:
- Pumpkin puree
- Pumpkin pie spice
- Chopped pecans
Boost: Use maple syrup for extra cozy flavor.
Salted Caramel Date Balls
Sweet and chewy with whole-food goodness.
Add-ins:
- Medjool dates
- Cashew butter
- Sea salt
Boost: Add maca powder for hormonal balance and depth.
Apple Cinnamon Crumble
Like apple pie, but clean.
Add-ins:
- Diced dried apples
- Cinnamon
- Oats + walnuts
Boost: Drizzle with almond butter before storing.
Berry Vanilla Bliss
Sweet and fruity great for kids.
Add-ins:
- Freeze-dried strawberries or blueberries
- Vanilla protein powder
- Cashew butter
Boost: Blend with coconut flour to thicken and add texture.
Dark Chocolate Mint
Like a thin mint, but healthy.
Add-ins:
- Peppermint extract
- Cacao powder
- Dark chocolate chunks
Boost: Add spirulina or spinach powder for natural green color.
Tropical Mango Coconut
Sweet, light, and sunshine in a bite.
Add-ins:
- Dried mango pieces
- Coconut flakes
- Lime zest
Boost: Add chia seeds for texture and fiber.
| Flavor Combo | Key Add-Ins | Texture Level | Best Season |
|---|---|---|---|
| Chocolate PB Crunch | Chocolate chips, peanuts | Chewy | Year-round |
| Matcha Coconut | Matcha, coconut | Soft | Spring |
| Lemon Chia Zest | Lemon zest, chia | Light + grainy | Summer |
| Pumpkin Spice | Pumpkin puree, pecans | Moist | Fall |
| Mocha Espresso | Espresso, cacao nibs | Bold | Winter |
These flavor combos are flexible mix and match based on what you have, your cravings, or the season.
Nutritional Information and Health Benefits
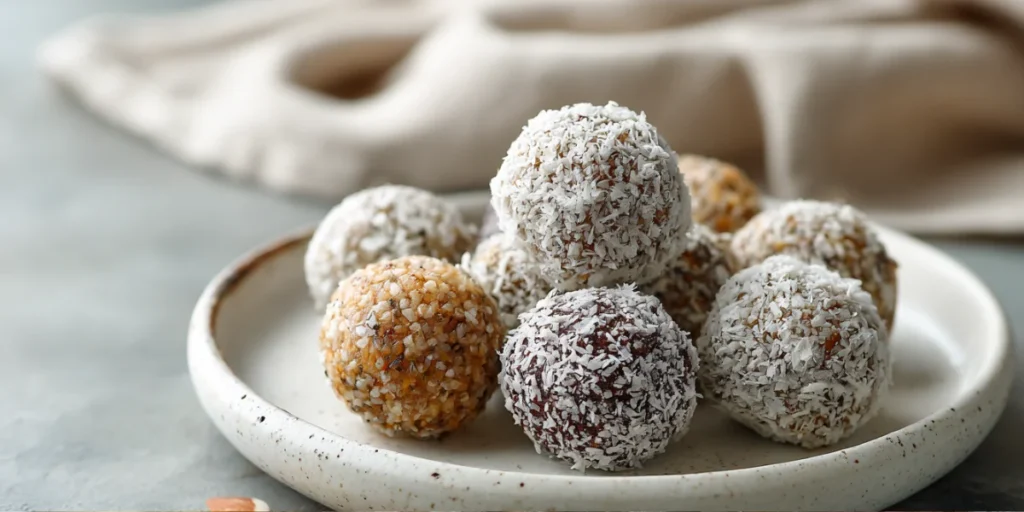
Protein balls aren’t just trendy they pack a real punch when it comes to balanced nutrition. Whether you’re grabbing one after a workout or snacking between meals, they’re an easy way to fuel your body with intentional, whole-food energy.
Are Protein Balls Actually Healthy? Here’s What Experts Say
Short answer: yes if you make them right.
Homemade protein balls can be a smart addition to almost any diet because:
- They’re nutrient-dense: Packed with fiber, healthy fats, and complete proteins.
- They stabilize blood sugar: A great snack that avoids the crash-and-burn effect of sugary snacks.
- They support muscle recovery: Especially when made with clean protein sources like pea or whey.
- They encourage mindful snacking: A satisfying bite helps avoid over-snacking on processed foods.
Registered dietitians often recommend snacks that:
- Include 5–10 grams of protein
- Offer complex carbs for energy
- Contain healthy fats for satiety
- Are low in added sugar (or use natural sweeteners only)
Macro Breakdown: Protein, Carbs, and Healthy Fats
While nutrition facts vary depending on ingredients, here’s an average estimate for a standard protein ball (1 oz or ~30g):
| Macro | Amount per Ball | Benefit |
|---|---|---|
| Calories | 120–150 | Energy boost |
| Protein | 5–8g | Muscle support |
| Fat | 6–10g | Satiety + hormone balance |
| Carbs | 12–18g | Quick fuel |
| Fiber | 3–5g | Gut health + digestion |
Optional Superfood Boosts:
- Chia seeds – Omega-3s and fiber
- Maca powder – Adaptogen for energy and mood
- Cacao nibs – Antioxidants + magnesium
- Collagen powder – Hair, skin, joints
Who Can Benefit from Protein Balls?
- Athletes & fitness lovers – For post-workout recovery
- Busy professionals – For on-the-go energy
- Kids – For a clean snack that feels like dessert
- Vegans/Vegetarians – When using plant-based proteins
- Anyone avoiding ultra-processed snacks
They’re also a great tool for intuitive eaters, helping you recognize when you’re truly hungry and supporting your body’s cues with nourishment not restriction.
So yes, when made with wholesome, intentional ingredients, protein balls are absolutely a healthy snack and one that’s easy to personalize.
Storage, Shelf Life, and Meal Prep Tips
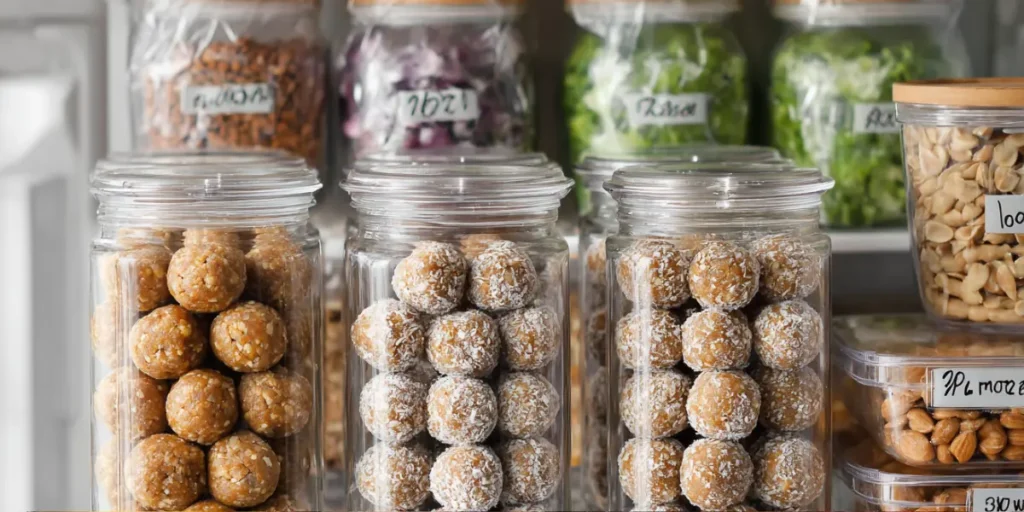
Once you’ve made a batch (or two) of delicious protein balls, the next step is knowing how to store them properly so they stay fresh, flavorful, and ready when you need that grab-and-go energy.
How to Store Protein Balls (Fridge vs. Freezer)
Homemade protein balls are no-bake, which makes storage super easy but it’s important to keep them at the right temperature depending on your ingredients.
| Storage Method | How Long They Last | Best For |
|---|---|---|
| Fridge (sealed container) | 7–10 days | Freshness + chewy texture |
| Freezer (zip bag or airtight) | Up to 3 months | Long-term meal prep |
| Counter (cool, dry place) | 1–2 days (if no fresh fruit or dairy) | Temporary snack stash |
Tips for Best Storage:
- Store balls in layers with parchment paper between them to prevent sticking.
- Always refrigerate if using ingredients like fresh fruit, yogurt, or soft nut butters.
- Label your containers with the date you made them to track freshness.
Batch Making and Portion Control Tips
Protein balls are one of the best snacks to make in bulk. Here’s how to maximize efficiency and keep things portion-controlled:
1. Double or Triple Your Recipe
Make enough for 2–3 weeks and freeze half right away. Use a food processor to speed up large batches.
2. Pre-Scoop for Portion Consistency
Use a small cookie scoop or tablespoon to make uniform balls about 1 oz (28–30g) each.
3. Separate by Flavor
Making multiple variations? Use muffin tins or silicone molds to keep flavors separate during prep and chilling.
4. Use the “Snack Box” Method
Keep a snack box in your fridge with pre-made balls in silicone cups or snack bags great for packing lunches or post-gym bags.
Quick Rehydration Tip for Dry Balls
If your protein balls get too firm after chilling, let them sit at room temp for 10 minutes or pop one in the microwave for 5–8 seconds to soften slightly.
FAQs About Protein Balls
Got questions? You’re not alone. Here are the most frequently asked questions about protein balls, answered simply and clearly so you can snack smarter and feel good doing it.
Are Protein Balls Actually Healthy?
Yes, when made with whole, clean ingredients like oats, nut butters, protein powder, seeds, and natural sweeteners. They’re balanced in protein, fats, and carbs, and often high in fiber, making them a nourishing alternative to processed snacks or desserts.
Avoid: Added sugars, artificial sweeteners, hydrogenated oils, and overly processed protein powders.
How to Make Your Own Protein Ball?
You only need four base ingredients:
Rolled oats
Nut butter
Natural sweetener (like dates or honey)
Protein powder
Just mix, roll, and chill. Then customize with extras like coconut, cocoa, spices, or dried fruit. For a full guide, check Part 3 above.
What Are the 4-Ingredient Power Balls?
They’re minimalist protein balls made from:
1 cup oats
½ cup nut butter
⅓ cup sweetener
¼ cup protein powder
These are ideal for meal prep, beginner cooks, or anyone looking for a quick and nourishing bite. You can modify them based on taste and dietary needs (gluten-free, vegan, keto, etc.).
What Can You Use to Make Protein Balls Stick Together?
Top binding ingredients:
Nut butters (peanut, almond, cashew)
Sticky sweeteners (honey, maple syrup, date paste)
Coconut oil or mashed banana
Chilling the mixture before rolling also helps prevent crumbling. If your mixture is too dry, add a tablespoon of nut butter or a splash of almond milk.
Can You Use Vegan Protein Powders in Protein Balls?
Absolutely. Pea, rice, hemp, or mixed plant proteins work well. Look for unflavored or vanilla options to avoid overly sweetened or artificial flavors. You may need to adjust the amount of liquid slightly, as some plant-based powders are more absorbent.
Can Kids Eat Protein Balls?
Yes! They’re great for lunchboxes or after-school snacks. Just be cautious of choking hazards (like whole nuts), and avoid protein powders with caffeine, artificial sweeteners, or added stimulants for younger kids. You can also make them without any protein powder and rely on nut butters, oats, and seeds for natural protein.
Protein Ball Recipe Recap: Snack Smarter, Live Brighter
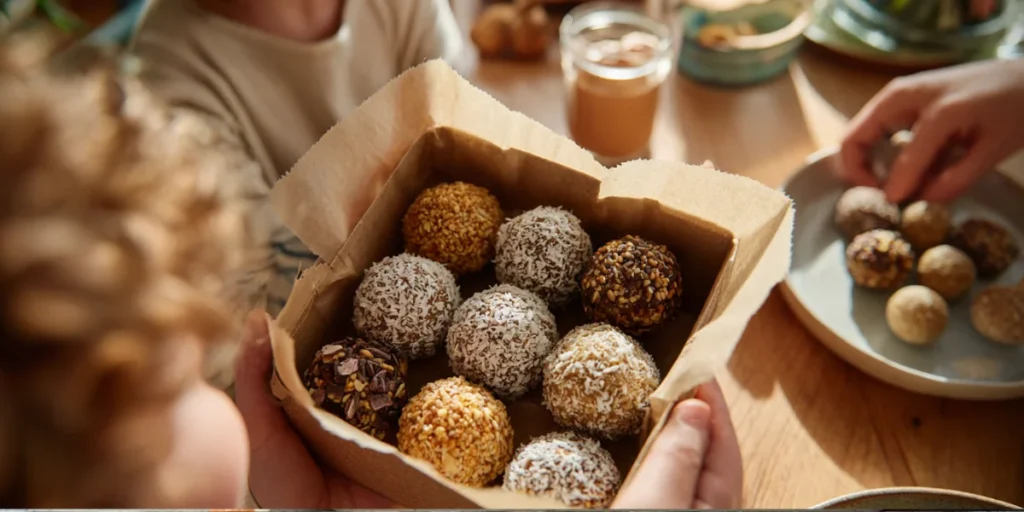
Protein balls are more than just a trendy snack they’re a flexible, whole-food option that fits seamlessly into any lifestyle. Whether you’re a busy mom, a fitness enthusiast, or just someone who wants to snack smarter, these no-bake bites bring nutrition and flavor together with ease.
From basic 4-ingredient formulas to rich flavor profiles like mocha espresso and lemon chia, you can mix, match, and personalize your recipe with ingredients you trust and love. With the right balance of protein, fiber, and healthy fats, they fuel your day without the sugar crash.
So go ahead roll up your sleeves, get creative, and start prepping your next batch of homemade protein balls. Your fridge (and your future self) will thank you.
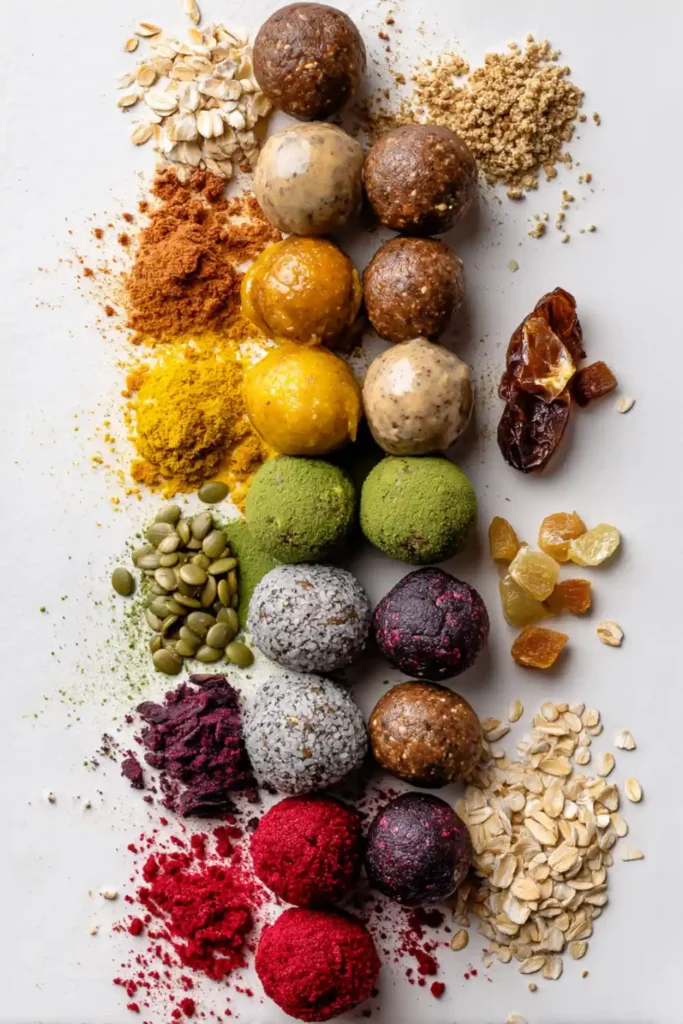
Protein Balls Recipe Guide
A complete guide to making nutritious, no-bake protein balls at home perfect for snack prep, post-workout fuel, or a sweet treat that’s actually healthy.
- Prep Time: 15 minutes
- Cook Time: 0 minutes
- Total Time: 15 minutes
- Yield: 12–14 balls 1x
- Category: Snack
- Method: No-Bake
- Cuisine: Healthy
Ingredients
- 1 cup rolled oats
- ½ cup nut butter (peanut, almond, or cashew)
- ⅓ cup natural sweetener (honey, maple syrup, or 6 pitted dates)
- ¼ cup protein powder (whey or plant-based)
- Optional: 2–3 tbsp add-ins like chia seeds, chocolate chips, coconut flakes
Instructions
- Mix the nut butter and sweetener together until smooth. If using dates, blend them into a paste first.
- Add oats, protein powder, and any optional add-ins. Stir until fully combined.
- Adjust texture by adding a splash of milk if too dry, or more oats if too wet.
- Chill the mixture for 10–15 minutes in the fridge.
- Roll into 1-inch balls using your hands or a scoop.
- Store in an airtight container in the fridge for up to 1 week, or freeze for longer shelf life.
Notes
Customize your protein balls with flavors like chocolate peanut butter, lemon chia, or matcha coconut. Chill before rolling for easier shaping and better binding.
Nutrition
- Serving Size: 1 ball
- Calories: 130
- Sugar: 5g
- Sodium: 40mg
- Fat: 7g
- Saturated Fat: 1g
- Unsaturated Fat: 5g
- Trans Fat: 0g
- Carbohydrates: 15g
- Fiber: 3g
- Protein: 6g
- Cholesterol: 0mg
Keywords: protein balls, energy bites, healthy snack, no-bake, meal prep

