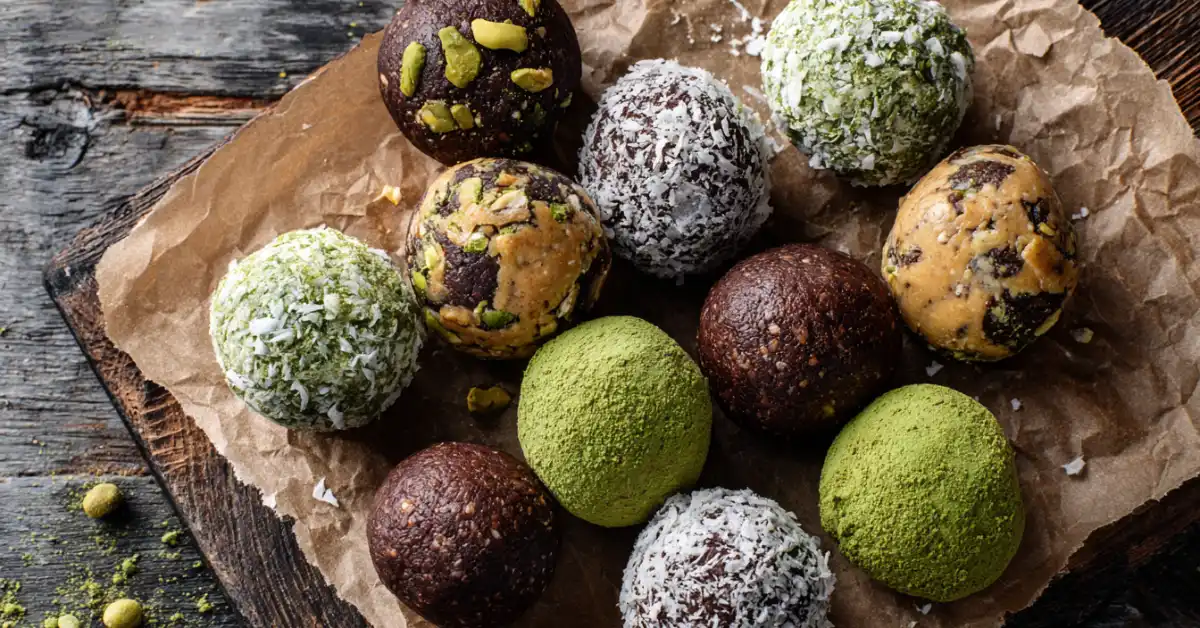
Why No Bake Protein Balls Are the Wholesome Snack You Need
Welcome to EatBrightly, where every bite should taste as good as it makes you feel. I’m Mia Langston a self-taught chef, nutrition enthusiast, and the heart behind EatBrightly. If you’re anything like me, you want food that’s nourishing, quick to make, and actually satisfying. That’s exactly what inspired this guide to no bake protein balls one of my favorite go-to snacks for busy days, post-yoga munchies, or sweet cravings that don’t derail your goals.
This isn’t just another health fad. These no bake protein balls are built around real, feel-good ingredients. Think nut butters, oats, seeds, and natural sweetness from dates or maple. They’re the kind of snack you can prep in minutes and feel great about all week. And because I believe food should be joyful, colorful, and effortless, this article will show you just how versatile, customizable, and tasty these little energy bites can be.
We’ll cover everything: the benefits, the best ingredients to use, how to make them, variations for every diet (from vegan to keto), storage tips, and even the common mistakes to avoid. Whether you’re a meal prepper, a parent packing school lunches, or someone just trying to eat better without sacrificing flavor this is for you.
Let’s dive into the world of no bake protein balls your future favorite snack is only a few ingredients away.
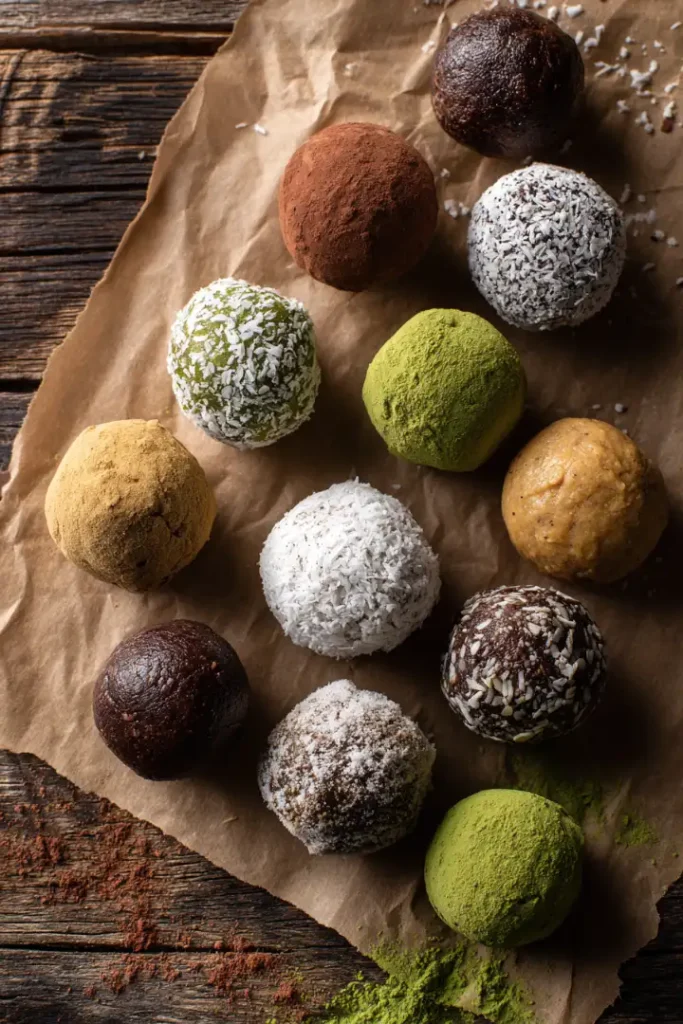
Table of Contents
Table of Contents
No Bake Protein Balls: What They Are and Why You’ll Love Them
What Are No Bake Protein Balls?
No bake protein balls are bite-sized snacks made with whole, nutrient-dense ingredients that require zero cooking. They’re typically rolled into small balls using a mix of oats, nut butter, protein powder, seeds, and natural sweeteners like honey or dates. The magic? You just mix, roll, chill and eat. No oven. No stove. No stress.
These little gems are sometimes called energy bites, protein bites, or bliss balls, and they’re designed to give you a quick hit of energy and protein without added junk. Most recipes are customizable, which means you can tweak ingredients to suit your diet vegan, gluten-free, low-carb, or nut-free.
From the gym bag to the school lunchbox, no bake protein balls have become a staple snack for people who want real food with real benefits.
Why They’re Popular Among Health Enthusiasts
What’s driving the popularity of no bake protein balls? Let’s break it down:
- Convenience: No baking means minimal prep time, fewer dishes, and instant gratification. You can make a whole batch in under 10 minutes.
- Customizable Nutrition: Whether you’re counting macros or simply avoiding allergens, these bites allow you to personalize every batch. Use almond butter or tahini, whey or pea protein, sweeten with maple or skip it altogether.
- Perfect for Meal Prep: These store like a dream. Freeze them for weeks or refrigerate them for up to a week — they’re ready when you are.
- Kid and Family-Friendly: Soft, tasty, and naturally sweet, kids love them (even the picky ones). And if you sneak in some flaxseed or chia? They’ll never know.
- Clean Ingredients, Clean Energy: Unlike store-bought bars loaded with preservatives and synthetic additives, homemade protein balls deliver sustained energy without the crash.
For those of us who value health without the hassle, no bake protein balls are more than a snack they’re a lifestyle solution.
Health Benefits of No Bake Protein Balls
Rich Source of Protein Without the Need to Cook
One of the biggest advantages of no bake protein balls is their ability to deliver high-quality protein without turning on a single burner. Whether you’re using whey, collagen, or a plant-based powder, these snacks pack a punch.
Protein plays a vital role in:
- Muscle repair and growth (especially post-exercise)
- Satiety, helping you feel full longer
- Stable blood sugar, reducing cravings and crashes
Unlike many traditional snacks, these bites don’t rely on empty carbs or refined sugar. Instead, ingredients like almond butter, chia seeds, or protein powder deliver a steady stream of energy while helping to meet your daily protein needs no blender, no oven, no problem.
Energy-Boosting, Nutrient-Dense, and Great for Weight Control
No bake protein balls aren’t just protein-packed; they’re also loaded with healthy fats, fiber, and micronutrients that make them a superior snack choice.
- Healthy fats from nut butters and seeds help absorb vitamins and support brain health
- Fiber from oats, flaxseed, or shredded coconut improves digestion and regulates blood sugar
- Natural sugars from dates or honey offer a gentle energy boost not the spike-crash cycle
These nutrient-dense snacks are ideal for weight management, especially when cravings hit. Instead of reaching for processed snacks, you get a filling, satisfying option that supports your goals.
Because they’re portion-controlled by design, it’s easy to stay on track. Just grab one or two and you’re good to go. That’s why many people use them as:
- Mid-morning pick-me-ups
- Post-lunch treats
- Pre-workout fuel
With just a handful of whole food ingredients, you’re not just snacking you’re feeding your body smartly.
Key Ingredients Used in No Bake Protein Balls
Natural Sweeteners (Dates, Honey, Maple Syrup)
Most no bake protein balls get their sweetness from natural, unrefined sources not processed sugar. This is a huge plus if you’re trying to cut down on refined carbs without giving up flavor.
Here are the most common sweeteners you’ll find:
| Sweetener | Flavor Profile | Benefits |
|---|---|---|
| Medjool Dates | Rich, caramel-like | High in fiber, potassium, antioxidants |
| Honey | Floral, sweet | Antibacterial, energy-boosting |
| Maple Syrup | Earthy, deep sweetness | Contains minerals like manganese |
These natural options also act as binders, helping hold the mixture together. Their moisture makes the final texture soft and chewy.
Proteins (Whey, Plant-Based, Collagen)
The protein in no bake protein balls isn’t just a supplement it’s the star ingredient. Here’s a quick breakdown of the popular options and how they perform:
| Type | Best For | Texture Impact |
|---|---|---|
| Whey Protein | Post-workout recovery | Creamy, smooth |
| Plant Protein | Vegan, dairy-free diets | Slightly gritty (can be offset with nut butters) |
| Collagen | Joint and skin health | Slightly dry, best with moist binders |
When adding protein powder to your mix, start small. About 1–2 tablespoons per batch is often enough, depending on the brand. Overdoing it can lead to a chalky texture.
Binders and Add-ins (Nut Butters, Seeds, Coconut)
The base of every great no bake protein ball starts with something sticky and rich. That’s where binders come in. They hold everything together and add major flavor.
Common binders include:
- Peanut Butter – affordable, creamy, and high in protein
- Almond Butter – slightly sweeter, good for anti-inflammatory diets
- Tahini or Sunflower Butter – perfect for nut-free versions
Boosters and add-ins make the balls even more nutritious:
- Chia Seeds – omega-3s, fiber, and satisfying texture
- Ground Flaxseed – supports digestion and adds fiber
- Shredded Coconut – enhances texture and adds healthy fat
- Mini Chocolate Chips or Cacao Nibs – optional but delicious
These ingredients allow you to create dozens of flavor combinations without sacrificing the health factor. From crunchy to chewy, nutty to fruity the possibilities are endless.
Nuts and seeds aren’t just tasty they’re packed with omega-3s, protein, and fiber. According to the Better Health, adding them regularly can support brain and heart health.
Step-by-Step Guide to Making No Bake Protein Balls at Home
Basic Equipment and Prep Tips
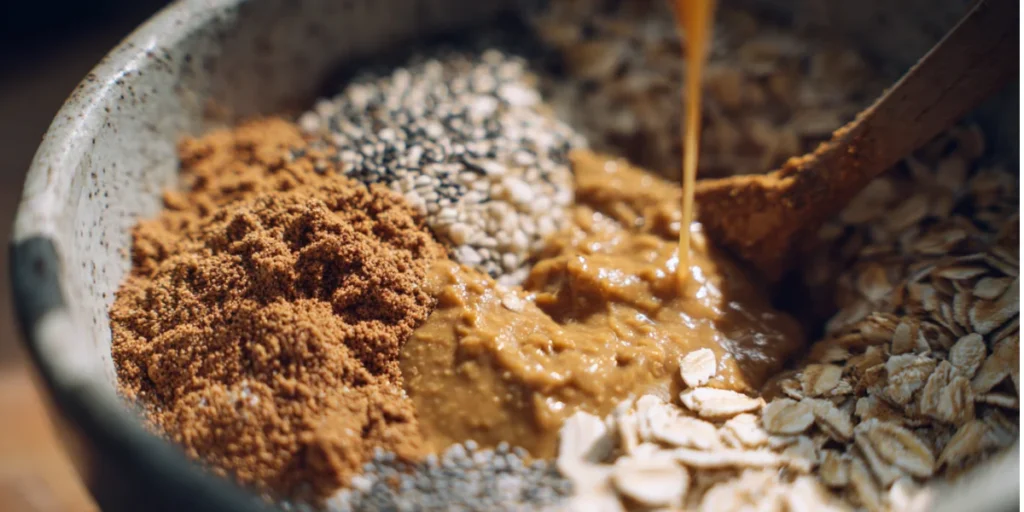
One of the reasons no bake protein balls are so loved? You don’t need fancy kitchen gear to make them. Just a few basics and 10 minutes of your time.
Here’s what you’ll need:
- Mixing bowl – Large enough for combining ingredients easily
- Spatula or wooden spoon – For stirring sticky mixtures
- Tablespoon or cookie scoop – To portion evenly
- Your hands – The best tools for rolling!
Pro Prep Tips:
- Chill your mixture for 10–15 minutes before rolling if it’s too sticky
- Use parchment paper on your tray to prevent sticking
- Wet your hands slightly to avoid the mix clinging to your fingers
- Double your batch and freeze extras future you will thank you
Master Recipe Formula (With Ratios and Substitutions)
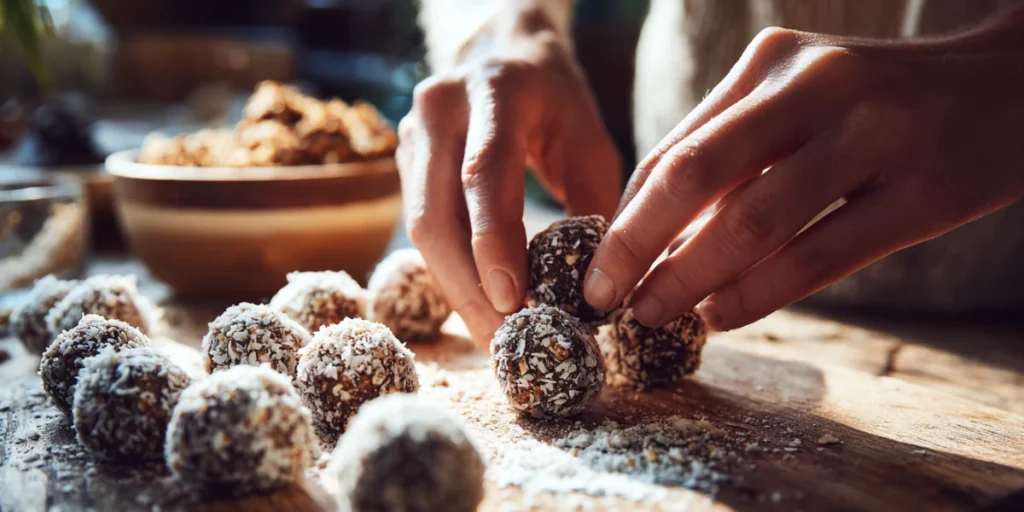
Once you understand the basic formula, you can create your own protein ball recipes in no time. Think of it like a choose-your-own-adventure snack.
Here’s the winning ratio:
| Ingredient Type | Amount | Purpose |
|---|---|---|
| Base (Oats, etc.) | 1 cup | Structure + fiber |
| Binder (Nut Butter) | 1/2 cup | Holds it all together |
| Sweetener | 1/4 cup | Flavor + stickiness |
| Protein Powder | 1/4–1/3 cup | Boosts protein content |
| Add-ins (Seeds, etc.) | 2–4 tbsp (optional) | Texture + nutrition boost |
Swap Suggestions:
- Oats: Try coconut flour or almond meal for low-carb options
- Nut butter: Use sunflower seed butter for nut-free versions
- Honey: Maple syrup or date paste work great for vegan variations
- Protein powder: Use collagen for skin-boosting bites
Once mixed, roll into 1-inch balls and chill for 20–30 minutes. That’s it!
Whether you stick to the basics or add in everything but the kitchen sink, the result is the same: quick, healthy, delicious protein-packed snacks made exactly how you like them.
Want a simple base you can customize endlessly? Don’t miss my complete Protein Ball Recipe Guide, where I break down the ratios, tips, and flavor swaps to make perfect protein balls every time.
Popular Variations of No Bake Protein Balls
Vegan, Gluten-Free, and Keto-Friendly Options
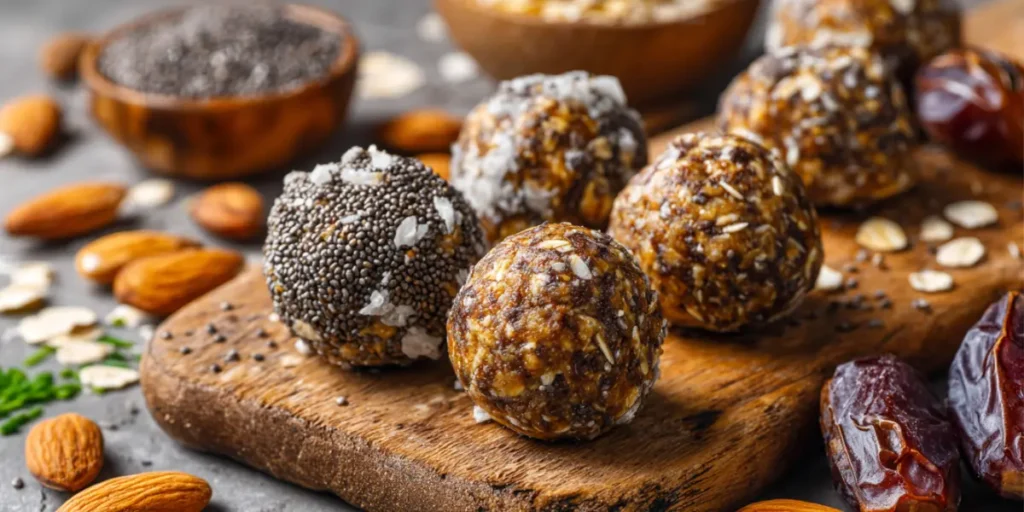
The beauty of no bake protein balls is how effortlessly they can be tailored to your lifestyle. Whether you’re avoiding dairy, cutting gluten, or staying low-carb, there’s a protein ball for you.
Vegan Protein Balls
Swap out whey protein for a plant-based option like pea, hemp, or brown rice protein. Use maple syrup or date paste instead of honey, and choose nut butters without added dairy.
Best combos:
- Almond butter + chia seeds + maple syrup + oats + vegan chocolate chips
- Cashew butter + cinnamon + pumpkin puree + vanilla plant protein
Gluten-Free Bites
While oats are naturally gluten-free, make sure to buy certified gluten-free oats if you’re celiac or highly sensitive. Many store-bought options are cross-contaminated.
Add-in tip: Use crushed rice cakes or puffed quinoa for added crunch.
Keto Protein Balls
Focus on low-carb binders like almond flour, coconut flour, and sugar-free sweeteners (monk fruit or erythritol). Nut butters are perfect here just skip the oats.
Try this combo:
- Coconut flour + almond butter + chocolate collagen + unsweetened cocoa powder + stevia drops
If you’re looking for even more flavor inspiration, check out my guide to the 5 Best Energy Bite Recipes. From fruity to chocolatey blends, these recipes will keep your snack game exciting all week long.
Flavored Options: Chocolate, Peanut Butter, Matcha, etc.
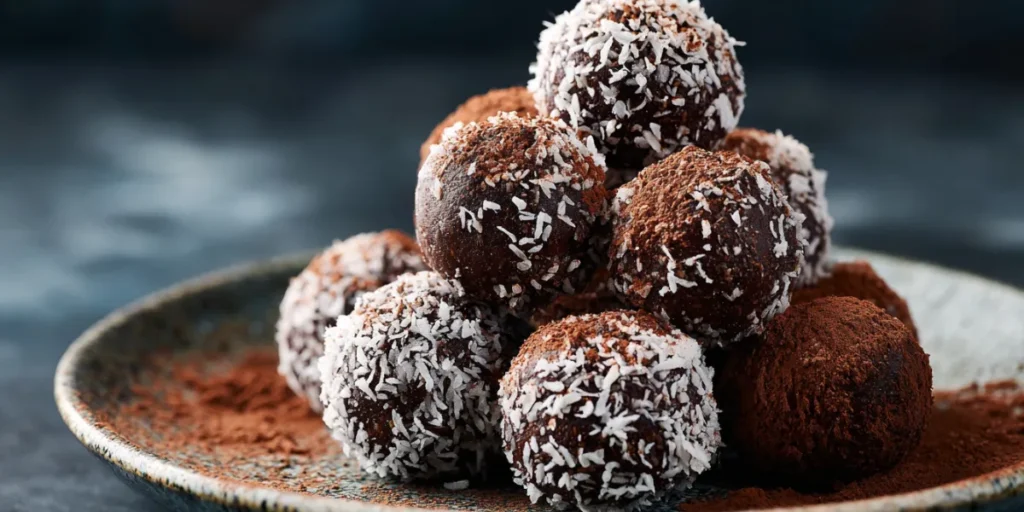
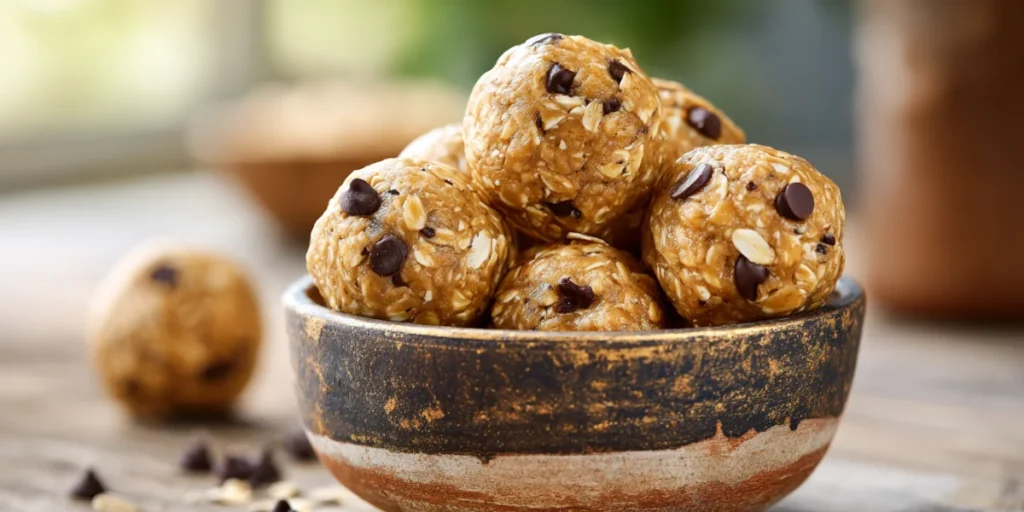
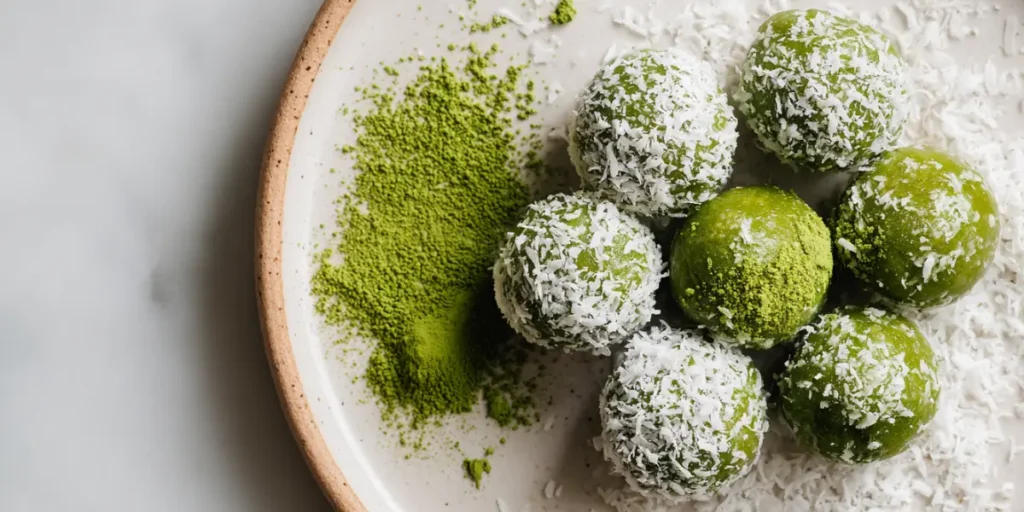
If you want your no bake protein balls to feel more like dessert than health food flavor is where the magic happens. With a few smart additions, your protein bites go from “meh” to “more, please!”
Chocolate Lovers
- Use unsweetened cocoa powder or cacao
- Add mini dark chocolate chips or cacao nibs
- Chocolate protein powder + almond butter = win
Peanut Butter & Jelly
- Classic peanut butter + crushed freeze-dried strawberries
- Add oats and vanilla protein powder for nostalgia and balance
Matcha Green Tea
- Add 1–2 teaspoons of matcha powder + coconut flakes
- Pair with vanilla protein and cashew butter
Seasonal Flavors
- Pumpkin spice: pumpkin puree, cinnamon, and nutmeg
- Mocha: espresso powder + chocolate protein
- Lemon coconut: lemon zest + shredded coconut + vanilla protein
Whether you crave something fruity, chocolatey, nutty, or indulgent, there’s a version of no bake protein balls that will hit the spot while still being good for you.
Oats are a powerhouse of fiber and nutrients, making them an ideal base for protein balls. The Harvard School of Public Health notes that whole grains support heart health and help keep blood sugar steady.
Best Times to Eat No Bake Protein Balls
Pre-Workout or Post-Workout Fuel
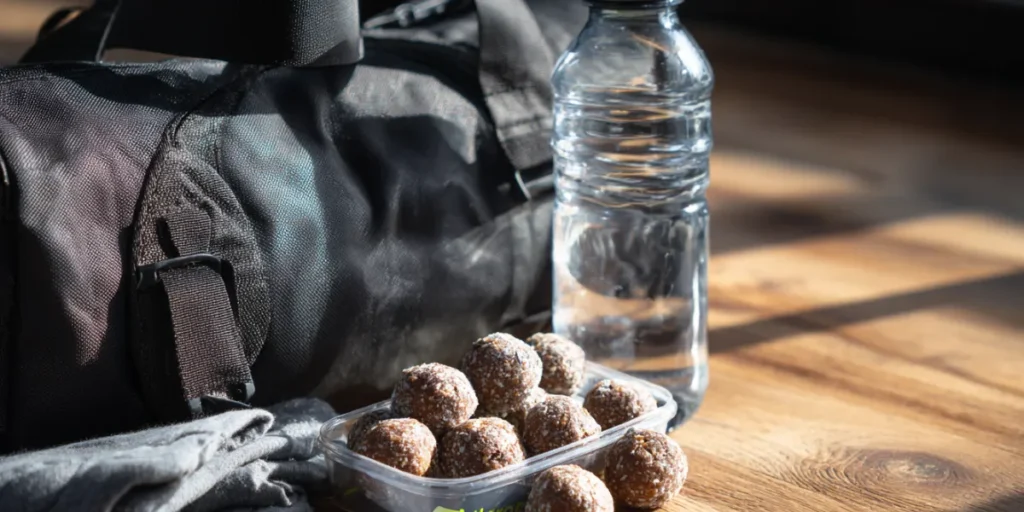
If you’re looking for a snack that fuels your body without weighing you down, no bake protein balls are a smart choice especially around your workouts.
Before You Work Out
Eating a protein ball 30–60 minutes before training gives you a solid energy boost. Carbs from oats and natural sweeteners provide quick fuel, while protein helps preserve muscle mass during your session.
Pro tip: Add a bit of caffeine (like espresso powder or cacao nibs) for an energizing pre-workout twist.
After You Work Out
Post-workout, your muscles are hungry for recovery nutrients. A well-balanced protein ball delivers:
- Protein to support muscle repair
- Carbs to replenish glycogen
- Healthy fats for long-lasting energy
Try this combo: Peanut butter + oats + chocolate whey protein + honey + chia seeds
On-the-Go Snack, Breakfast Bites, or Healthy Dessert
No bake protein balls are as versatile as they are tasty. You don’t need a workout to justify eating them. They’re perfect anytime hunger strikes.
Breakfast on Busy Mornings
Too rushed for a full meal? Grab 2–3 protein balls, a banana, and a cup of coffee breakfast is served. They’re compact, easy to pack, and give you that morning energy bump.
Midday Slump Fix
Keep a few at your desk or in your bag. When that 3 PM crash hits, they’re a healthier alternative to vending machine snacks or sugary drinks.
Healthy Dessert
Got a sweet tooth? Make a chocolatey or nutty version to satisfy your cravings without the sugar crash. A little drizzle of dark chocolate or a dusting of cinnamon can go a long way.
No matter the time of day, no bake protein balls offer a clean, satisfying, and portable snack that works with your schedule not against it.
How to Store and Keep No Bake Protein Balls Fresh
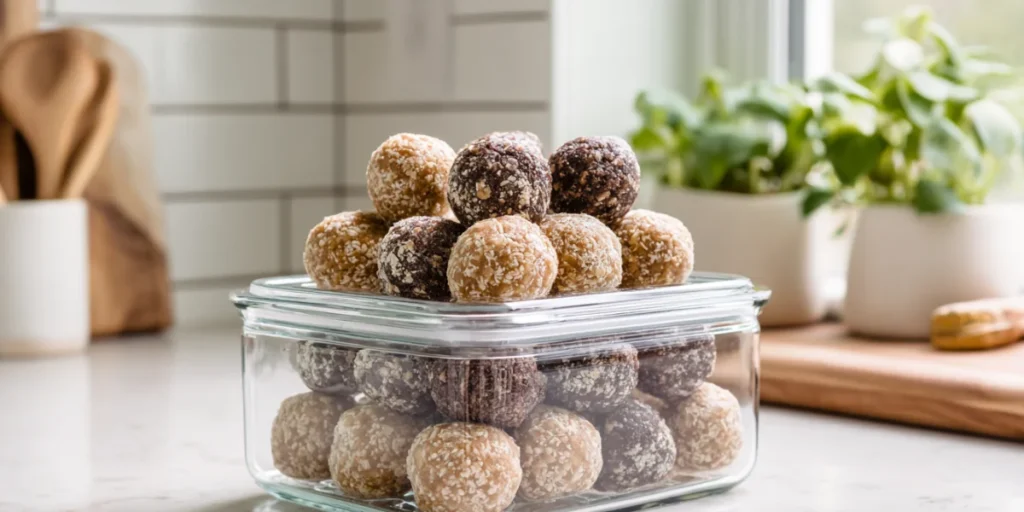
Refrigerator vs Freezer Storage
One of the biggest perks of no bake protein balls is their shelf life. When stored properly, these bites stay fresh, chewy, and delicious whether you’re prepping for the week or stashing some for later.
In the Fridge
Storing your protein balls in an airtight container in the refrigerator keeps them fresh for up to 7 days. The cool temperature maintains their shape, prevents them from drying out, and keeps ingredients like nut butter or coconut oil from melting.
Tips:
- Use glass containers or silicone storage bags for best freshness
- Layer parchment between rows to prevent sticking
- Add a label with the date you made them
In the Freezer
Want to make a big batch? Freeze them! No bake protein balls freeze beautifully and can last up to 3 months without losing flavor or texture.
How to do it:
- Freeze them on a baking sheet first so they don’t clump together
- Once frozen, transfer to a freezer-safe container or zip bag
- Let them thaw at room temp for 15–20 minutes before eating, or enjoy slightly chilled
Shelf Life and Batch Prep Tips
Planning ahead is easy with no bake protein balls, especially if you’re making snacks for the family or prepping meals in advance.
Shelf Life Recap:
| Storage Method | Shelf Life | Best Practice |
|---|---|---|
| Room Temp | 2–3 days (not ideal) | Only if ingredients are dry |
| Refrigerator | 5–7 days | Use airtight container |
| Freezer | 2–3 months | Freeze individually first |
Common Mistakes to Avoid When Making No Bake Protein Balls
Texture Problems and Binding Failures
Let’s be real not every batch of no bake protein balls turns out picture-perfect on the first try. But don’t worry most issues come down to texture or binding, and they’re easy to fix once you know what to look for.
Common Texture Mistakes:
- Too Dry or Crumbly: This usually means too much protein powder or dry add-ins (like oats or coconut) without enough moisture.
- Fix: Add 1–2 teaspoons of water, almond milk, or more nut butter and remix.
- Too Wet or Sticky: If your mix sticks to everything (hands, spoon, counter), it’s probably too much sweetener or nut butter.
- Fix: Add a spoonful of oats or protein powder to balance the moisture.
Binding Issues:
A protein ball that won’t stick together is frustrating. Binding is what gives them shape and chew. Here’s what to check:
- Not enough sticky ingredients (honey, maple syrup, dates)
- Over-measuring dry ingredients
- Using dry protein powder without compensating with liquid
Pro tip: Chill the dough for 10–15 minutes before rolling. It firms up and binds better.
Ingredient Imbalances That Affect Taste
Even the healthiest no bake protein balls need to taste good, or let’s be honest they won’t get eaten.
What to Avoid:
- Too Much Protein Powder: Can create a chalky or bitter flavor, especially with unflavored or plant-based types.
- Overdoing Sweeteners: Too much honey or syrup turns your snack into dessert and not in a good way.
- Clashing Flavors: Not all combos work together. Chocolate + peanut butter = yes. Lemon zest + chocolate protein = maybe not.
Tips to Get the Flavor Right:
- Stick with 3–4 key flavors per batch
- Taste-test before rolling into balls
- Use a pinch of salt it makes everything taste better
When you balance moisture, texture, and flavor, you’ll have protein balls that are crave-worthy, not compost-worthy.Batch Prep Hacks:
- Double your recipe it won’t take more time, but you’ll thank yourself later
- Freeze in packs of 2 or 3 for grab-and-go convenience
- Rotate flavors weekly to avoid snack burnout
Whether you keep them cold or frozen, storing no bake protein balls properly keeps them tasting fresh, chewy, and snack-worthy just the way they should be.
No Bake Protein Balls for Specific Diets & Needs
Kid-Friendly and Allergy-Safe Versions

If you’re feeding little ones or anyone with food sensitivities, no bake protein balls can be a life-saver. They’re easily adapted for common allergens and picky preferences without losing flavor or nutrition.
Kid-Friendly Tips:
- Use mild flavors like vanilla, cinnamon, or peanut butter
- Add mini chocolate chips or dried fruit for a treat-like vibe
- Keep the texture soft by using quick oats and creamy nut butters
✅ Pro tip: Let kids help roll the balls it turns snack time into play time!
Allergy-Safe Variations:
- Nut-Free: Swap peanut or almond butter for sunflower seed butter or tahini
- Dairy-Free: Choose plant-based protein powders (hemp, brown rice, pea)
- Egg-Free & Gluten-Free: Most no-bake recipes are already eggless and gluten-free just double-check labels on oats and protein
Diabetic-Friendly and Low Sugar Options
Yes, you can make no bake protein balls that are blood sugar–friendly without sacrificing taste. It’s all about smart ingredient swaps.
Smart Swaps for Diabetics:
- Skip high-glycemic sweeteners like honey and use monk fruit, stevia, or erythritol instead
- Opt for unsweetened nut butters and low-sugar add-ins (like seeds, unsweetened coconut)
- Use rolled oats, almond flour, or even ground flaxseed for a low-GI base
Low-Sugar Flavor Ideas:
- Coconut chocolate: unsweetened coconut flakes + cacao nibs + vanilla protein
- Spiced almond: almond butter + cinnamon + ground flaxseed
Diabetic-friendly doesn’t mean boring. These bites can still be packed with flavor, texture, and fun.
No matter your dietary needs, there’s a no bake protein ball recipe out there that’ll work for you because health should never mean compromise.
Frequently Asked Questions About No Bake Protein Balls
Can you freeze no bake protein balls?
Yes, you absolutely can freeze no bake protein balls, and it’s actually a great way to meal prep in advance. Just roll them, place them on a baking sheet, and freeze until solid. Then transfer to a freezer-safe bag or container. They’ll stay fresh for up to 3 months. Let them thaw for 15–20 minutes before eating, or enjoy them straight from the freezer for a chilled snack.
Are protein balls good for weight loss?
No bake protein balls can support weight loss — when made with balanced ingredients. Their combo of protein, fiber, and healthy fats helps curb cravings and keep you full longer. Just be mindful of portions. One or two balls per serving (about 100–150 calories) can be part of a well-rounded diet that supports your health goals.
What protein powder is best for no bake protein balls?
The best protein powder for no bake protein balls depends on your dietary needs and taste preferences. Popular choices include:
Whey protein for a creamy texture and complete amino acid profile
Plant-based proteins (pea, hemp, or rice) for vegan options
Collagen powder for joint, hair, and skin support
Make sure to choose an unsweetened or lightly sweetened version to avoid overpowering the natural flavor of your other ingredients.
How long do protein balls last without refrigeration?
At room temperature, no bake protein balls typically last about 2 to 3 days, depending on the ingredients. If your recipe includes fresh fruit or dairy-based protein powders, refrigeration is essential. For best quality, store them in the refrigerator for up to 7 days or in the freezer for long-term storage.
Can I make protein balls without protein powder?
Absolutely! You can make no bake protein balls without protein powder by using high-protein whole ingredients like:
Nut butters (peanut, almond, or sunflower seed)
Ground flaxseed or chia seeds
Oats and nuts
These provide natural protein and healthy fats. Just adjust the dry-to-wet ratio to ensure they hold together well.
Are no bake protein balls healthy for kids?
Yes, no bake protein balls are a great snack for kids. They’re soft, bite-sized, and naturally sweet perfect for lunchboxes or after-school snacks. Use nut-free butters if your child has allergies, and keep the ingredients simple: oats, dates, sunflower butter, and a dash of cinnamon. Bonus: kids love helping make them!
Wrapping Up: Quick, Healthy Snacking Made Simple
No bake protein balls are more than just a healthy snack they’re a smart, customizable, and delicious way to fuel your day. Whether you need a quick pre-workout bite, a kid-friendly lunchbox filler, or a late-night sweet fix that won’t wreck your goals, these little bites have your back.
From understanding key ingredients and common mistakes to exploring endless variations you now have everything you need to make no bake protein balls your go-to snack.
So go ahead grab a bowl, your favorite nut butter, and get rolling!
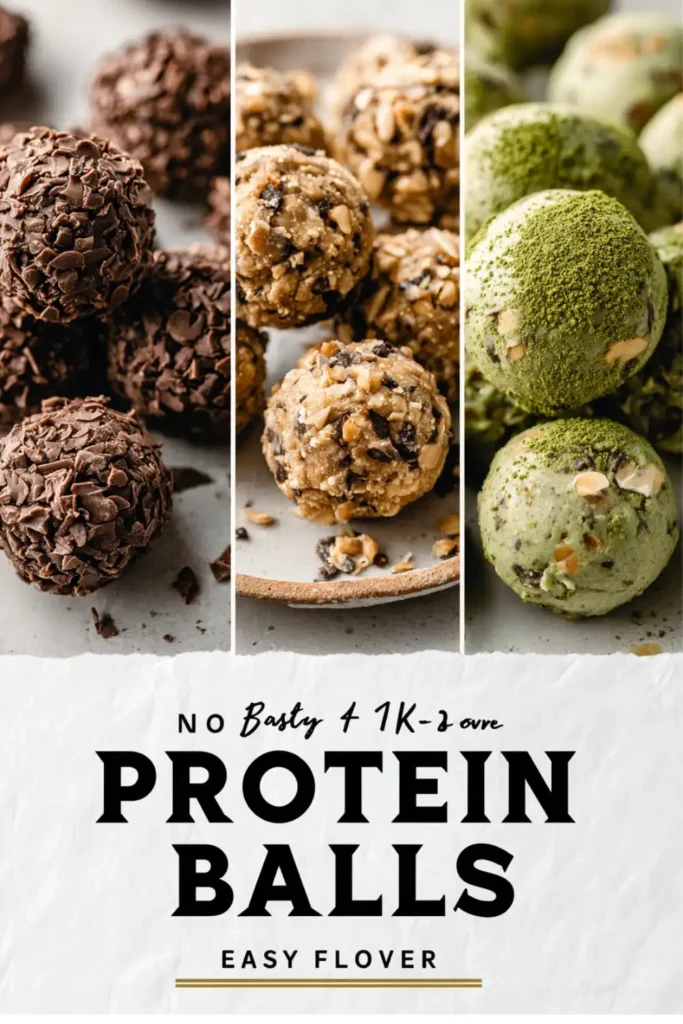
No Bake Protein Balls Quick, Healthy Snack Recipe
Quick, nutritious, and customizable – these no bake protein balls are the perfect snack for busy lifestyles. Made with wholesome ingredients like oats, nut butters, seeds, and natural sweeteners, they’re energy-boosting bites you can feel good about.
- Prep Time: 10 minutes
- Cook Time: 0 minutes
- Total Time: 10 minutes
- Yield: 12–15 balls 1x
- Category: Snack
- Method: No Bake
- Cuisine: Healthy
Ingredients
- 1 cup rolled oats
- 1/2 cup natural nut butter (peanut, almond, or sunflower seed)
- 1/4 cup honey or maple syrup
- 1/4 cup protein powder (whey, plant-based, or collagen)
- 2 tbsp chia seeds or ground flaxseed
- Optional: 2 tbsp shredded coconut
- Optional: 2 tbsp mini chocolate chips or cacao nibs
Instructions
- In a large mixing bowl, combine oats, protein powder, chia seeds (or flax), and optional add-ins.
- Add nut butter and honey/maple syrup to the dry ingredients.
- Mix until well combined. If the mixture feels too dry, add 1–2 teaspoons of water or almond milk. If it’s too wet, add more oats.
- Chill the mixture in the fridge for 10–15 minutes to firm up.
- Use a tablespoon or cookie scoop to portion and roll into 1-inch balls.
- Place on a parchment-lined tray and refrigerate for 20–30 minutes or until set.
- Store in an airtight container in the fridge for up to 7 days or freeze for up to 3 months.
Notes
Use certified gluten-free oats for a gluten-free version. For vegan options, use plant-based protein and maple syrup. Adjust sweetness and flavor by experimenting with add-ins like cinnamon, matcha, or dried fruit.
Nutrition
- Serving Size: 2 balls
- Calories: 150
- Sugar: 5g
- Sodium: 60mg
- Fat: 8g
- Saturated Fat: 1g
- Unsaturated Fat: 6g
- Trans Fat: 0g
- Carbohydrates: 12g
- Fiber: 3g
- Protein: 6g
- Cholesterol: 0mg
Keywords: protein balls, no bake, healthy snacks, energy bites, oat balls

