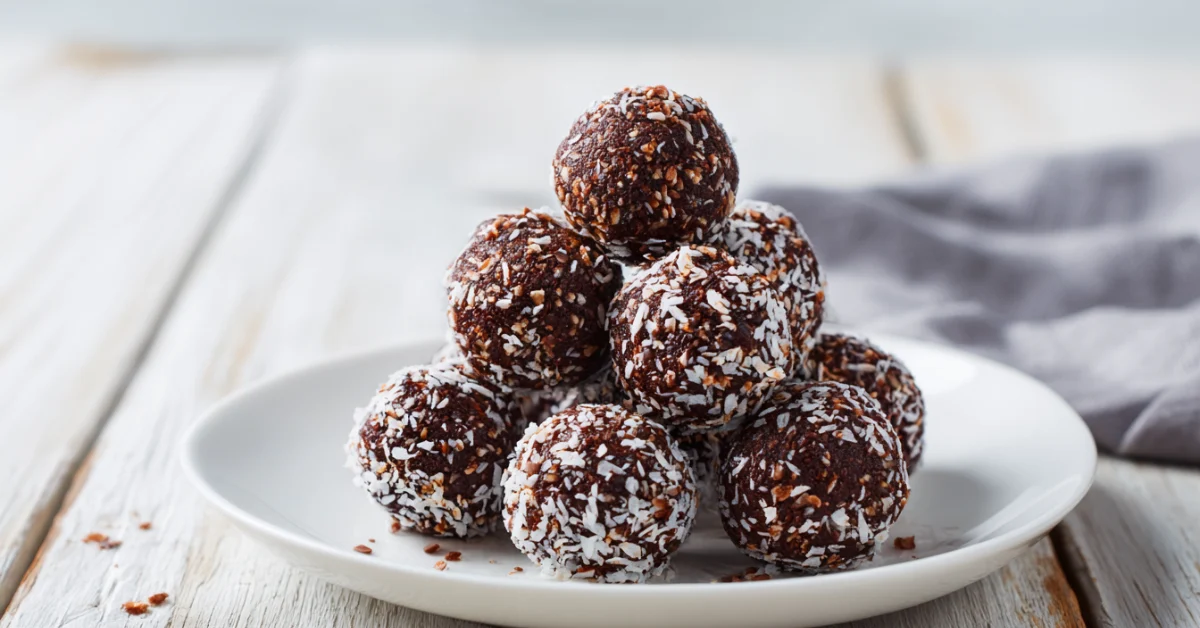
Chocolate Protein Balls: Healthy Snack You’ll Love
If you’ve ever reached for a sweet treat and wished it was just a little more nourishing, you’re in the right place. Here at EatBrightly, I’m all about bridging comfort and nutrition and Chocolate Protein Balls are one of my absolute go-to snacks for doing just that.
Hi, I’m Mia Langston chef, nutrition explorer, and the heart behind EatBrightly. I’ve spent years experimenting in the kitchen with wholesome, plant-forward recipes that actually make you feel good. After a personal health wake-up call in my twenties, I became obsessed with food that heals, energizes, and satisfies. And guess what? These no-bake chocolate protein bites check all those boxes.
In this article, you’ll discover:
- What makes chocolate protein balls such a fan favorite
- The best ingredients to boost flavor and function
- Easy homemade recipes (including vegan, keto, and gluten-free)
- Smart tips for storage, batch prep, and diet variations
- Frequently asked questions answered
- And much more…
Check out one of my most shared recipes for quick, feel-good snacking:
Now, let’s start with the basics…
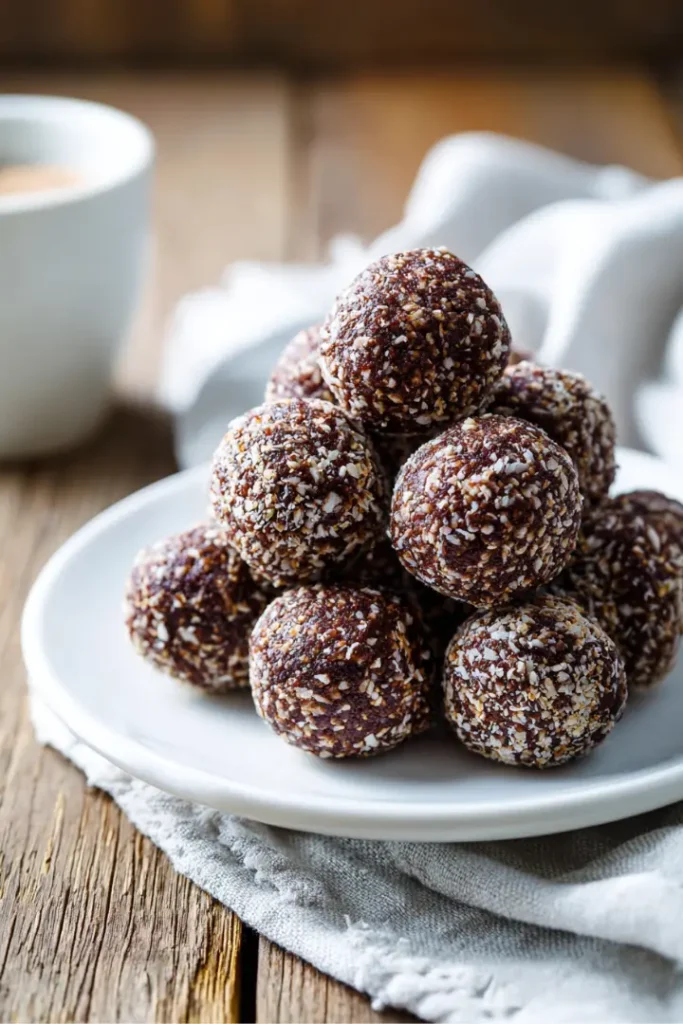
Table of Contents
Table of Contents
What Are Chocolate Protein Balls?
What Are Chocolate Protein Balls Made Of?
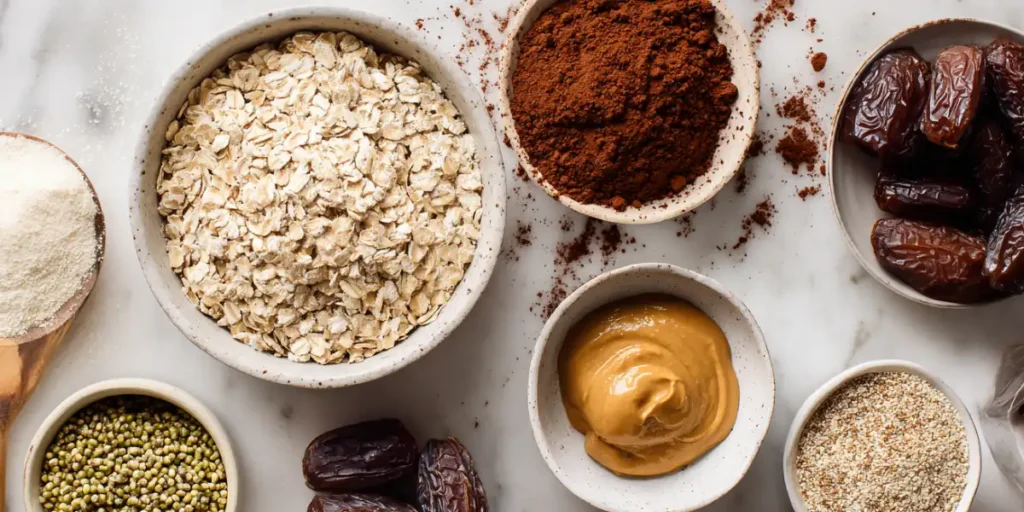
Chocolate protein balls (also known as energy balls or protein bites) are small, round snacks packed with protein, fiber, and natural sweetness. Most recipes are no-bake, using whole ingredients like:
- Nut butters (think almond or peanut butter)
- Protein powder (whey, vegan, or collagen-based)
- Natural sweeteners (like dates, maple syrup, or honey)
- Cocoa powder or dark chocolate chips
- Oats, seeds, or shredded coconut for texture and fiber
They’re meant to be nourishing, filling, and super easy to make often taking less than 10 minutes to prep.
At EatBrightly, I love crafting protein balls that taste indulgent, but sneak in superfoods like flax, chia, and cacao nibs. It’s snacking with intention and a little chocolate, of course.
Why Chocolate Protein Balls Are So Popular
Let’s be real everyone loves a snack that feels like dessert but fuels you like a smoothie bowl. Chocolate protein balls are popular because they check all the right boxes:
- ✅ Convenience – No baking, no fancy equipment, no mess.
- ✅ Portion-Controlled – One or two bites and you’re good to go.
- ✅ Customizable – From vegan to keto to nut-free, there’s a version for every lifestyle.
- ✅ Kid-Friendly – Even picky eaters love the chewy, chocolatey taste.
Personally, I keep a batch in my fridge for those midday slumps (right between Zoom calls and Luna’s walk). Whether you’re powering through a workout or just surviving a Monday, chocolate protein balls give you that clean energy boost you actually need.
Health Benefits of Chocolate Protein Balls
High Protein Content for Muscle Repair and Lasting Energy
One of the biggest reasons I keep chocolate protein balls stocked in my fridge? Protein.
As someone who teaches virtual cooking classes and partners with local farms here in Asheville, I’m on my feet a lot. I need real food that supports my energy without crashing an hour later and these little bites deliver. Here’s how:
| Ingredient | Benefit |
|---|---|
| Protein Powder | Builds and repairs muscle, keeps you full |
| Nut Butters | Healthy fats + plant protein combo |
| Oats | Slow-burning carbs = steady energy |
| Chia/Flax Seeds | Fiber-rich and omega-3 supportive |
Whether you’re a morning yogi, a weightlifter, or just chasing after kids all day, protein helps you stay satisfied longer no vending machine crash required.
Low-Sugar Options That Support Balanced Nutrition
Here’s a little secret from my kitchen to yours: chocolate protein balls don’t need refined sugar to taste amazing. I love using medjool dates, maple syrup, or ripe bananas as natural sweeteners. They offer subtle sweetness and nutrition.
Let’s compare:
| Sweetener | Glycemic Index | Added Nutrients |
|---|---|---|
| White Sugar | 65 | None |
| Maple Syrup | 54 | Zinc, antioxidants |
| Medjool Dates | 42 | Fiber, potassium |
| Ripe Banana | 51 | Vitamin B6, magnesium |
Choosing low-GI sweeteners helps maintain stable blood sugar levels, especially important if you’re managing insulin sensitivity or just trying to avoid the dreaded 3 PM crash.
And yes your sweet tooth will still be satisfied. Just in a way that leaves your body happy too.
Bonus: They’re Mood Boosters (Yes, Really!)
Don’t underestimate the feel-good power of dark chocolate and cocoa. Both are rich in magnesium and phenylethylamine, a compound known to boost serotonin the “happy hormone.”
So when I say these bites brighten my day, I mean it literally. A nourishing treat that lifts your mood? That’s the kind of snack I’ll always make room for.
Next up, we’ll break down the Essential Ingredients that make chocolate protein balls work flavor, function, and all.
Curious why that rich square of dark chocolate often feels like a mood booster? Research from Medical News Today reveals that dark chocolate is packed with antioxidants such as flavanols and polyphenols powerful compounds linked to improved circulation, reduced inflammation, and even better brain function and metabolic health . Adding a small piece to your snack routine isn’t just indulgent it’s a little healthful hug for your body and brain.
Essential Ingredients for Chocolate Protein Balls
Types of Protein Powders: Whey, Vegan, Casein, Collagen
When I’m developing recipes for EatBrightly, I always start by choosing the right protein base. Not all protein powders are created equal, and the one you use can make or break the taste, texture, and digestibility of your chocolate protein balls.
Here’s a quick breakdown to help you pick your perfect match:
| Protein Type | Source | Texture | Flavor Profile | Best For |
|---|---|---|---|---|
| Whey | Dairy-based | Creamy | Neutral, slightly milky | High-performance recovery |
| Vegan | Pea, rice, hemp | Earthy/dry | Nutty or grassy | Plant-based diets |
| Casein | Dairy-based | Thick | Smooth, rich | Slow-digesting energy |
| Collagen | Bovine/marine | Light | Nearly tasteless | Joint/skin support |
My go-to? I often use a chocolate plant-based protein mixed with collagen peptides. The combo offers balanced texture, nutrition, and a naturally sweet flavor that pairs beautifully with nut butters.
Natural Sweeteners, Fats, and Textural Additions
Once you’ve nailed the protein, it’s time to build a flavorful, functional base using ingredients that bring both nutrition and taste.
Here’s what I almost always keep on hand:
- Nut Butters (Almond, Peanut, Cashew): Healthy fats, protein, and rich flavor. They also help bind everything together.
- Dates or Maple Syrup: Naturally sweet, fiber-rich options to replace refined sugars.
- Oats: Add chewiness and structure while providing slow-digesting carbs.
- Seeds (Chia, Flax, Hemp): Boost fiber, omega-3s, and give a satisfying crunch.
- Coconut Flakes or Cacao Nibs: For texture and a hint of indulgence.
Pro tip from my Asheville kitchen: Add a pinch of sea salt to balance the sweetness and enhance the chocolate flavor.
Optional Flavor Boosters You’ll Love
- Cinnamon or Cardamom – Adds warmth and depth
- Espresso powder – Deepens the chocolatey notes
- Vanilla extract – Rounds out the flavor
- Mini dark chocolate chips – For that melty, dessert-like surprise
I love building layers of flavor without ever feeling like I’m compromising health. That’s the magic of intentional snacking flavor meets function.
Next, I’ll walk you through exactly how to make chocolate protein balls at home with my go-to techniques and no-bake secrets.
If simplicity meets satisfaction is more your style, check out the Peanut Butter Oatmeal Balls recipe these wholesome treats blend oats, nut butter, and just the right balance of sweetness for a bright, everyday snack that’s easy to make and even easier to love.
How to Make Chocolate Protein Balls at Home
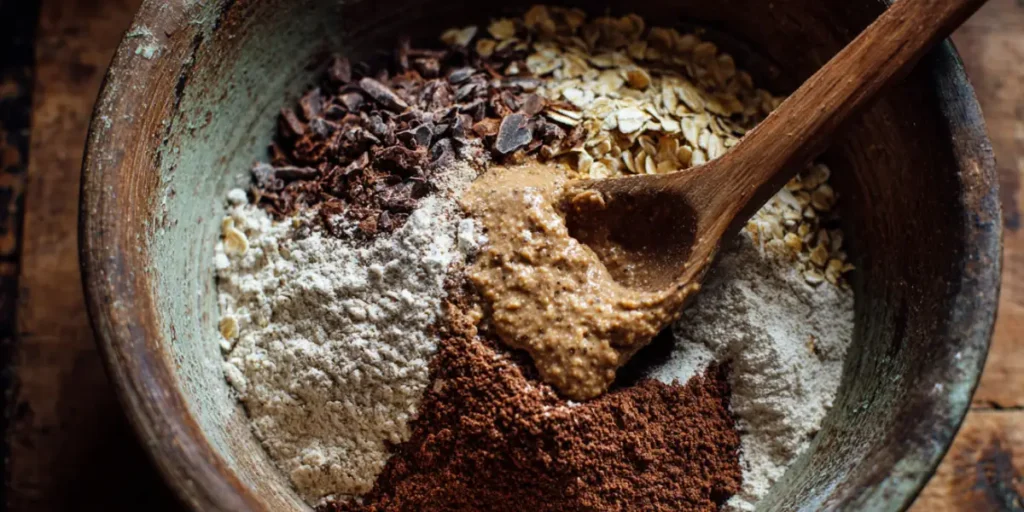
Step-by-Step Process with Pro Tips
If you’ve got 10 minutes, you’ve got homemade chocolate protein balls no baking, no blender, no stress. I’ll walk you through my tried-and-true process that’s beginner-friendly and totally customizable.
Here’s my basic formula (yields ~12 bites):
Base Recipe:
- 1 cup rolled oats
- 1/2 cup nut butter (almond, peanut, or cashew)
- 1/3 cup chocolate protein powder
- 1/4 cup maple syrup or 4 medjool dates, blended
- 2 tbsp cacao powder
- 1 tbsp chia or flax seeds (optional)
- Pinch of sea salt
- 2–3 tbsp water or almond milk as needed
- Optional: 1/4 cup mini dark chocolate chips or cacao nibs
Instructions:
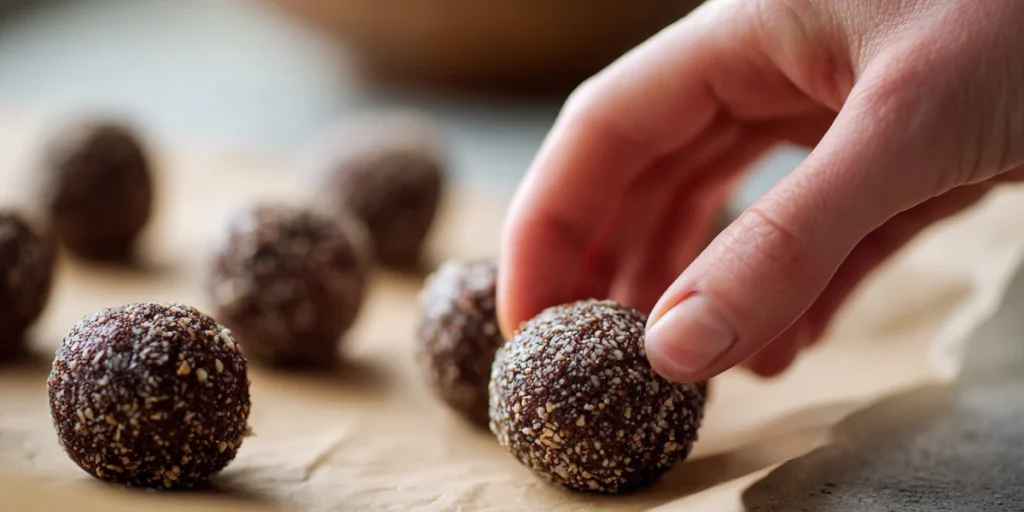
- Mix Dry Ingredients: In a large bowl, combine oats, protein powder, cacao, seeds, and salt.
- Add Wet Ingredients: Stir in nut butter and sweetener. Mix until crumbly.
- Adjust Texture: Add water or almond milk 1 tbsp at a time until the mixture is sticky but not wet.
- Fold in Chocolate Chips: If using, now’s the time to stir those in.
- Roll Into Balls: Scoop ~1 tbsp per ball, roll between your palms, and place on parchment paper.
- Chill: Pop them in the fridge for 30 minutes to set or eat right away if you’re too excited (we’ve all been there).
Pro Tips from My Kitchen:
- If it’s too dry, add a touch more nut butter or liquid.
- If it’s too wet, toss in extra oats or protein powder.
- Store in an airtight container in the fridge for up to 7 days.
No-Bake vs Baked Options: What’s Better?
You’ll see most chocolate protein ball recipes labeled no-bake, and for good reason: they’re quick, raw, and preserve more nutrients from ingredients like flaxseed or protein powders.
But occasionally, I bake a batch for a cookie-like texture, especially if I’m gifting them or want something extra chewy.
Here’s a quick comparison:
| Method | Texture | Time | Flavor Notes |
|---|---|---|---|
| No-Bake | Soft, fudgy | 10 mins prep | Fresh, slightly chewy |
| Baked | Chewy, cookie-like | 20 mins total | Toasted, rich chocolate |
Baking Tip: If baking, preheat oven to 350°F, bake for 8–10 minutes until just set. Cool before storing.
Up next: I’ll share five of my favorite chocolate protein ball recipes including one with espresso (yes, it’s as dreamy as it sounds).
Top 5 Easy Chocolate Protein Balls Recipes
I’ve created and tested dozens of variations over the years, and these are the five chocolate protein ball recipes I come back to again and again. Each one has a different vibe sweet, bold, energizing, or indulgent but they’re all packed with nutrition and feel-good ingredients.
1. Classic Chocolate Peanut Butter Protein Balls
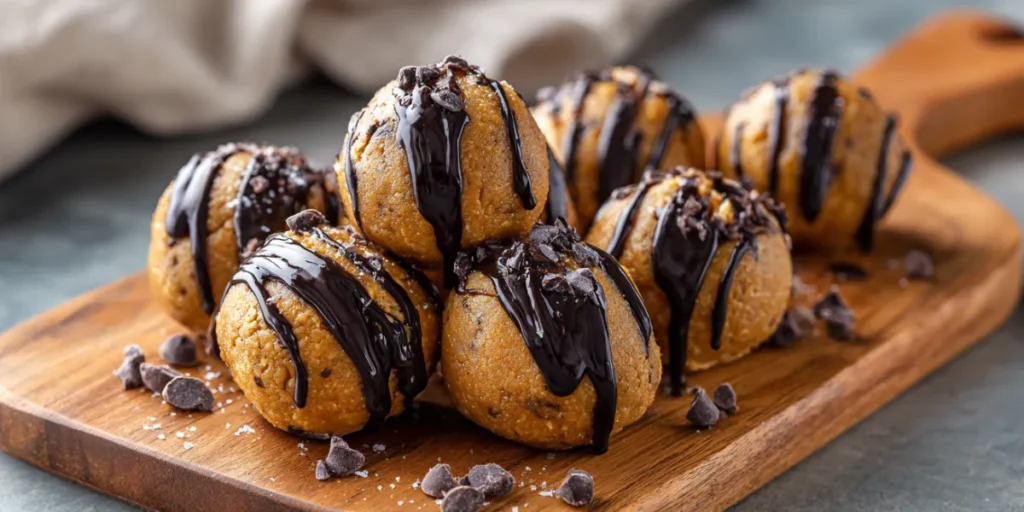
This one’s a fan favorite think Reese’s cup meets clean snacking. It’s high in protein, rich in flavor, and perfect for beginners.
Ingredients:
- 1 cup rolled oats
- 1/2 cup natural peanut butter
- 1/3 cup chocolate whey or plant protein powder
- 1/4 cup maple syrup
- 2 tbsp cacao powder
- Pinch of sea salt
- Optional: mini dark chocolate chips
Why I Love It: It’s nostalgic, satisfying, and holds up well in lunchboxes.
2. Vegan Chocolate Coconut Protein Balls
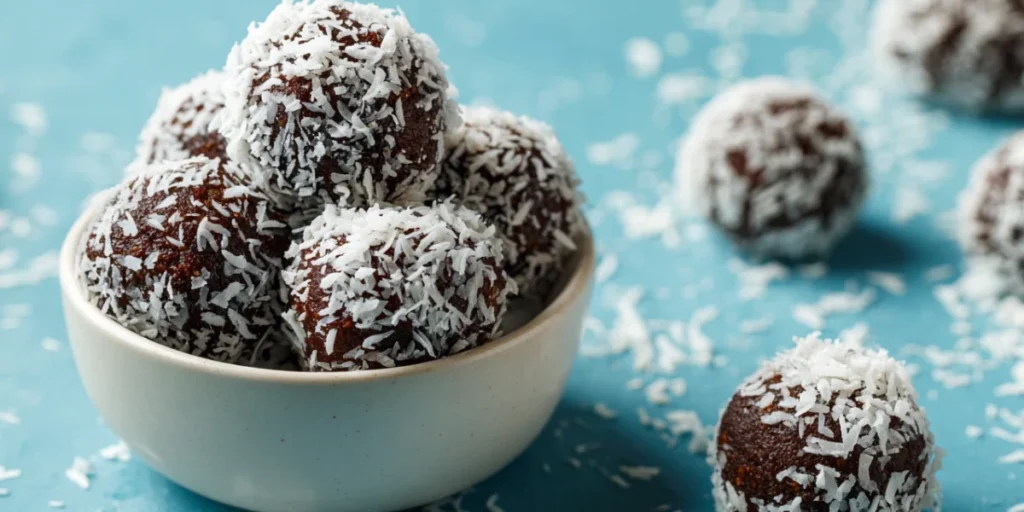
These are rich, chewy, and taste like dessert but they’re 100% plant-based.
Ingredients:
- 1 cup unsweetened shredded coconut
- 1/2 cup almond butter
- 1/3 cup vegan chocolate protein
- 1/4 cup dates (blended)
- 1 tbsp flaxseed
- 2 tbsp cacao powder
Why I Love It: No oats, no dairy, just pure tropical chocolate energy. Great for gluten-free eaters, too.
3. Keto-Friendly Dark Chocolate Protein Balls
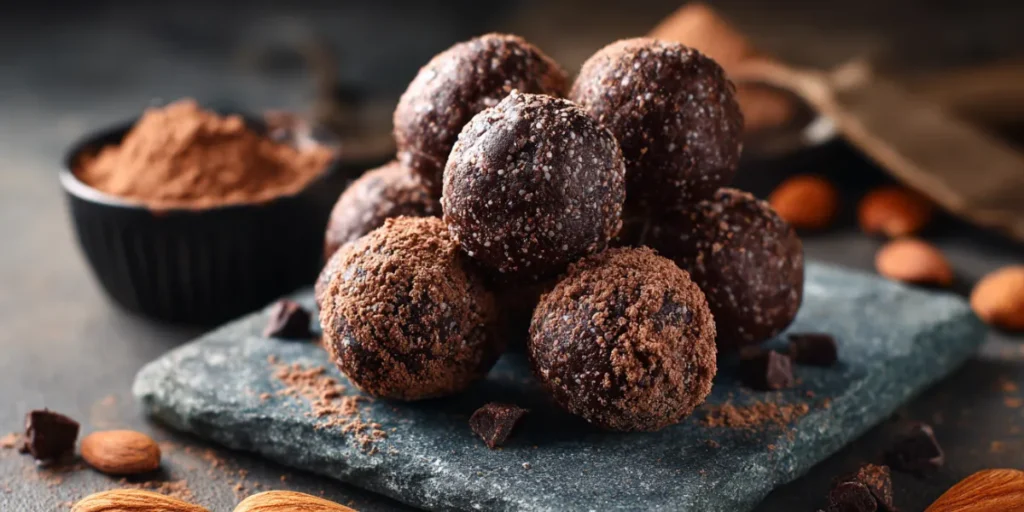
Low-carb doesn’t mean low-flavor. These keto bites are made with almond flour and coconut oil for a rich, indulgent texture without the sugar spike.
Ingredients:
- 1 cup almond flour
- 1/4 cup unsweetened cocoa
- 1/4 cup sugar-free chocolate chips
- 1/4 cup coconut oil
- 1/4 cup chocolate collagen protein
- Stevia or monk fruit to taste
Why I Love It: They’re rich and satisfying, great for keeping my energy up between coaching calls.
4. Almond Joy Protein Balls
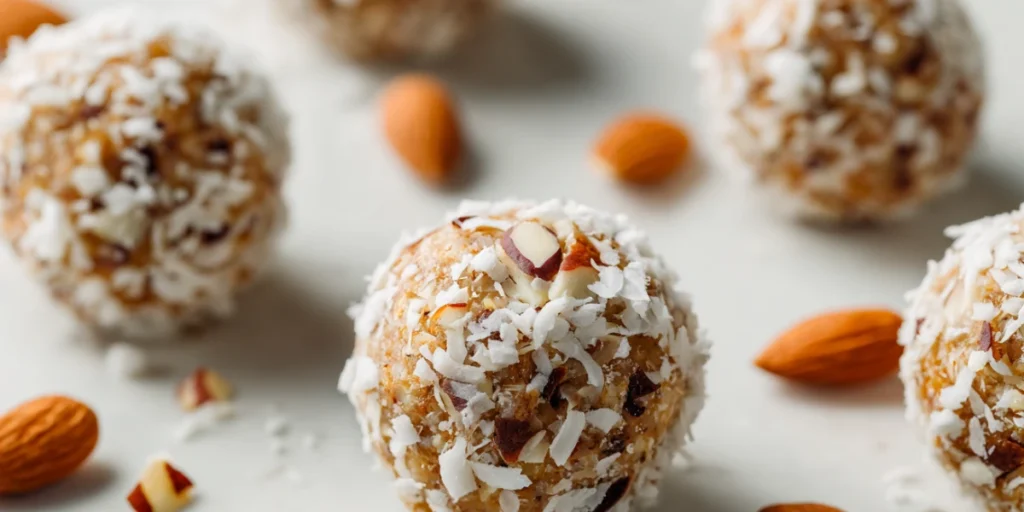
If you love the candy bar, this one’s for you. Coconut + almonds + chocolate = perfection.
Ingredients:
- 1 cup oats
- 1/2 cup almond butter
- 1/4 cup chopped almonds
- 1/4 cup coconut flakes
- 1/3 cup chocolate protein
- 2 tbsp maple syrup
- Pinch of sea salt
Why I Love It: Sweet and crunchy with just enough nostalgia to make you smile.
5. Chocolate Espresso Protein Bites
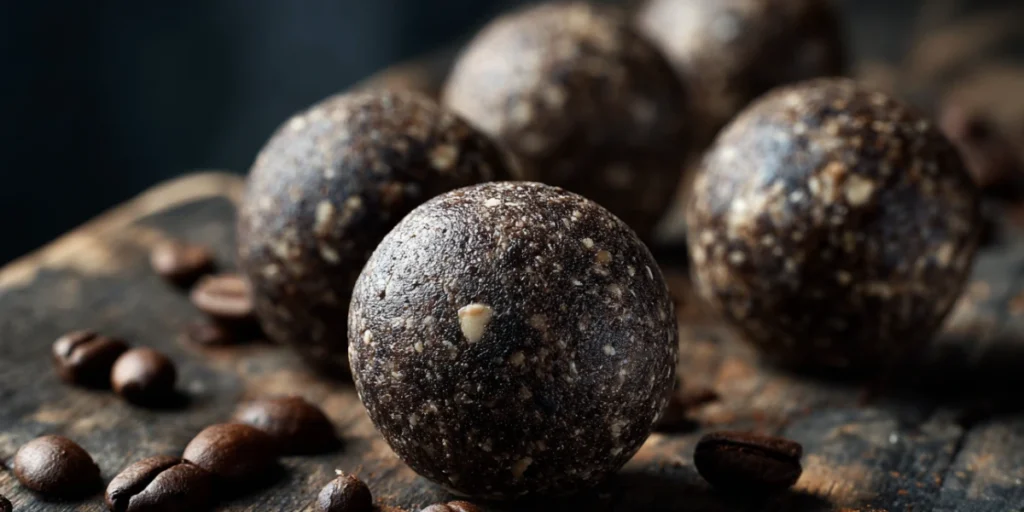
For when you want a chocolate boost with a buzz my go-to pre-Zoom snack.
Ingredients:
- 1 cup oats
- 1/2 cup peanut or cashew butter
- 1/3 cup chocolate protein
- 2 tbsp maple syrup
- 1 tbsp instant espresso powder
- Optional: cacao nibs or dark chips
Why I Love It: These are bold, flavorful, and perfect for an afternoon pick-me-up that isn’t another cup of coffee.
These recipes are easy to prep in batches, kid-approved, and endlessly tweakable. Mix and match ingredients based on what’s in your pantry play is part of the joy!
Ready to learn how to store and meal prep your protein balls like a pro?
Hungry for even more snack inspo? Dive into 5 Best Energy Bite Recipes for a treasure trove of no-bake, grab-and-go treats think chewy, protein-rich balls and keto-friendly bites that are as flavorful as they are functional. It’s perfect for your next batch prep or whenever you need a quick, delicious pick-me-up.
Storage, Shelf-Life & Meal Prepping Tips
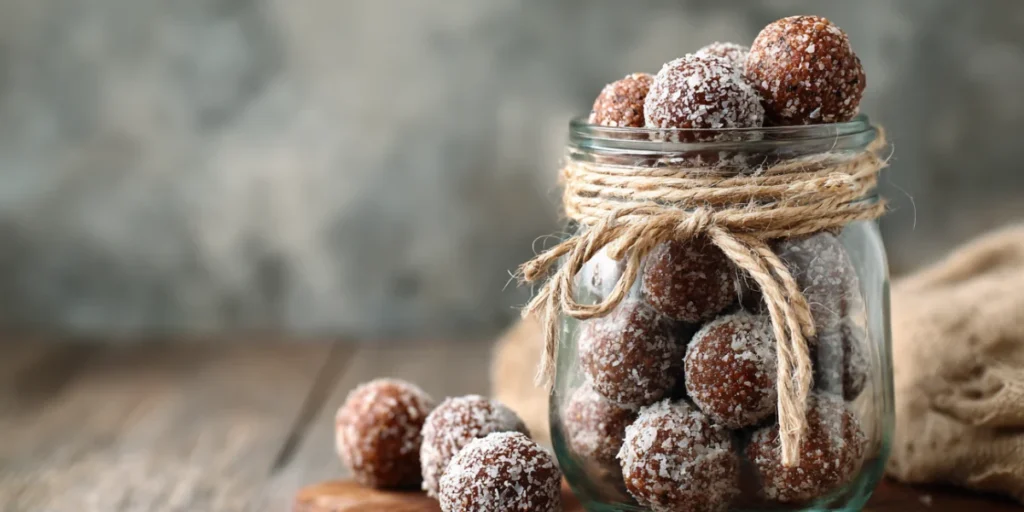
After you’ve made a batch (or three) of chocolate protein balls, you’ll want them to stay fresh, flavorful, and firm especially if you’re prepping for the week. Here’s how I do it in my Asheville kitchen, with a few chef-y hacks I’ve learned over the years.
How to Store in Fridge vs Freezer Properly
Short-Term? Use the fridge.
Long-Term? Freeze them.
| Storage Method | Best For | Shelf Life | Notes |
|---|---|---|---|
| Airtight in fridge | Weekly snacking | 5–7 days | Keep in a glass or BPA-free container |
| Freezer-safe container | Monthly prep | Up to 3 months | Freeze in a single layer first |
| Lunchbox friendly | On-the-go snacking | 1 day unrefrigerated | Add ice pack if storing longer |
My Routine:
I usually prep two batches on Sunday nights one goes into the fridge for immediate snacking, and the other gets frozen in individual bags for grab-and-go ease.
Prepping Large Batches for the Week or Month
Here’s how to meal prep without the mess (or the burnout):
- Double or Triple the Recipe: Most protein ball recipes scale up easily just keep your texture balanced (not too wet or crumbly).
- Use a Cookie Scoop: This keeps the size consistent and avoids sticky hands.
- Freeze on a Baking Sheet First: Prevents the dreaded clump-freeze. Once solid, transfer to a container or zip-top bag.
- Label & Date Everything: You’ll thank yourself in 3 weeks when you don’t remember what’s inside the bag.
Bonus Tip:
Add protein balls to lunchboxes, gym bags, or even crumble them over yogurt bowls for a quick breakfast. They’re that versatile.
Now that we’ve covered making and storing them, let’s talk about what can go wrong and how to fix it. Because yes, I’ve had batches fall apart too. (Looking at you, 2016 cashew crumble disaster.)
Common Mistakes and Fixes When Making Protein Balls
I’ll be honest when I first started experimenting with chocolate protein balls, not every batch turned out picture-perfect. Sometimes they were too dry. Other times, way too sticky. But with each “oops,” I learned something new. Here’s how you can avoid those kitchen flops (and fix them fast if they happen).
Too Dry? Try These Fixes
If your mix feels crumbly or refuses to stick together, it’s likely too dry. This usually happens when:
- You use a dry protein powder (especially plant-based)
- You add too many oats or cacao
- You skip the wet ingredients (like syrup or nut butter)
Fix it fast:
- Add 1 tablespoon of nut butter at a time
- Splash in almond milk, water, or melted coconut oil
- Blend in soft dates or mashed banana for moisture and natural sweetness
Too Sticky or Loose? Binding Tips That Work
A sticky mess means the mixture has too much liquid or soft sweeteners like maple syrup or bananas. While it may taste great, it won’t roll easily or hold shape.
Fix it fast:
- Add a spoonful of oats or protein powder to absorb excess moisture
- Mix in chia seeds or flax meal (they thicken over time)
- Chill the mixture for 10–15 minutes before rolling
Pro Tip:
If it’s still too soft after chilling, press the mixture into a pan and make protein bars instead. Zero waste, 100% delicious.
Other Common Protein Ball Troubles (And Solutions)
| Problem | Solution |
|---|---|
| Bland Flavor | Add sea salt, vanilla, or cinnamon |
| Overly Sweet | Use fewer dates or add cocoa powder |
| Too Dense | Fold in puffed rice or shredded coconut |
| Sticks to Hands While Rolling | Wet your hands with water or oil first |
These little snacks are forgiving you can almost always save the batch with one small adjustment. That’s the beauty of playing in the kitchen and cooking intuitively, like I always encourage here at EatBrightly.
Up next, I’ll show you how to tweak chocolate protein balls for different diets vegan, gluten-free, low-carb, and more.
Chocolate Protein Balls for Different Diets
One of the best things about chocolate protein balls? They’re wildly adaptable. Whether you’re plant-based, gluten-sensitive, low-carb, or following a specific eating style, there’s a version for you and it still tastes amazing.
In fact, many of my readers at EatBrightly found their favorite recipe by simply tweaking one or two ingredients to match their lifestyle. So let’s explore how to make this snack work for everyone.
Vegan and Gluten-Free Variations
I’ve been plant-curious for years, so I always keep vegan-friendly swaps in my back pocket. Luckily, it’s super easy to make chocolate protein balls vegan and gluten-free without sacrificing taste or texture.
Simple Vegan Swaps:
| Traditional Ingredient | Vegan Alternative |
|---|---|
| Whey Protein | Pea, rice, or hemp protein |
| Honey | Maple syrup, agave |
| Milk | Almond or oat milk |
| Chocolate chips | Dairy-free dark chips |
Gluten-Free Tips:
- Use certified gluten-free oats
- Double-check your protein powder (some contain gluten fillers)
- Stick with whole food ingredients like almond flour, coconut, and seeds
Low-Carb, Keto, and Paleo Adaptations
If you’re watching your carbs or following a keto or paleo lifestyle, it’s still totally possible to enjoy rich, chocolatey protein balls just with a few smart tweaks.
Keto/Paleo Ingredient Ideas:
| High-Carb Ingredient | Low-Carb Swap |
|---|---|
| Oats | Almond or coconut flour |
| Maple syrup/dates | Stevia, monk fruit, or erythritol |
| Regular chocolate | Sugar-free dark chocolate |
Healthy Fat Boosters:
- Coconut oil for brain-boosting MCTs
- Chia or flaxseeds for omega-3s
- Nut butters for rich texture and satiety
My Favorite Low-Carb Combo:
- 1 cup almond flour
- 1/3 cup chocolate collagen protein
- 1/4 cup coconut oil
- 1–2 tbsp monk fruit sweetener
- 2 tbsp cocoa powder
- Dash of vanilla and sea salt
Nut-Free or Allergy-Friendly Options
Have allergies or packing school lunches? You can absolutely make protein balls without nuts or dairy. Try these swaps:
- Sunflower seed butter instead of peanut or almond butter
- Coconut butter for richness and flavor
- Oat or quinoa flakes in place of nut flours
- Pumpkin or sunflower seeds for crunch and protein
These work well for kids, classrooms, or anyone with a nut-sensitive household.
Chocolate protein balls aren’t one-size-fits-all. They’re customizable joy bites and that’s exactly how I love to teach healthy eating: flexible, fun, and full of flavor.
Ready to answer some of the most common questions people ask about this recipe?
Chocolate Protein Balls FAQs
Over the years, I’ve received hundreds of questions from readers, clients, and cooking class attendees about chocolate protein balls especially those trying to make healthier snacks without sacrificing flavor. So here are the most common ones, answered with real-life tips from my kitchen.
Are chocolate protein balls healthy?
Absolutely, when made with whole food ingredients. The key is using natural sweeteners (like dates or maple syrup), clean protein powders, and healthy fats from nut butters or seeds.
Here’s what makes them a smart snack:
Balanced macronutrients (protein, fat, carbs)
No refined sugars
Portable and portion-controlled
Supports energy, satiety, and even mood (thank you, dark chocolate!)
Mia’s tip: Make them yourself so you control the quality. Store-bought versions can sneak in preservatives, artificial sweeteners, or excess sugar.
How long do protein balls last in the fridge?
5 to 7 days when stored in an airtight container. I usually keep mine in glass jars to maintain freshness.
For longer storage, freeze them for up to 3 months. Just let them thaw for 10 minutes before enjoying.
Can I use whey protein for protein balls?
Yes! Whey protein works really well in chocolate protein balls. It has a creamy texture and neutral flavor that blends easily with nut butter and oats.
Just be mindful:
It can make the mix a bit sticky add oats or almond flour to balance
Some people find whey hard to digest try collagen or plant protein as alternatives if needed
What is the best binder for protein balls?
The binder is what keeps everything together too little, and the balls fall apart; too much, and it’s a sticky mess.
My top binders include:
Nut butters (peanut, almond, sunflower)
Mashed bananas or dates
Maple syrup or honey
Coconut oil for added richness
Pro tip: If the mixture is still too loose, stir in flaxmeal or chia seeds they absorb moisture and add structure.
Are protein balls good for weight loss?
Yes, if portioned correctly and made with clean ingredients, they can absolutely support a weight-loss journey.
Protein helps control hunger
Fiber improves satiety
Healthy fats regulate cravings
Each ball typically contains 80–120 calories. Stick to 1–2 per snack, and pair with water or tea to stay full longer.
Can I freeze chocolate protein balls?
Yes! In fact, I recommend it if you like to meal prep or avoid daily cleanup.
How to Freeze:
Roll the balls and place them on a baking sheet
Freeze for 30 minutes (flash freezing)
Transfer to a sealed container or freezer bag
Label with the date
They’ll keep for up to 3 months and taste just as delicious when thawed.
Why Chocolate Protein Balls Are Worth Adding to Your Snack Routine
If you’ve made it this far, you now know why chocolate protein balls are more than just a health trend they’re a lifestyle-friendly, nourishing snack with endless possibilities.
From classic peanut butter bites to keto-friendly coconut balls, these little snacks pack a punch of protein, flavor, and functional ingredients that fuel your day naturally. They’re easy to prep, fun to customize, and satisfying for both your sweet tooth and your energy levels.
As someone who’s spent years developing vibrant, nourishing recipes, I can tell you this: healthy eating doesn’t have to be restrictive or boring. It can (and should!) be rich, chocolatey, and full of joy.
So whether you’re prepping snacks for a busy week, chasing kids around the house, or just craving something wholesome that doesn’t taste “too healthy,” these chocolate protein balls are your go-to guilt-free treat.
Thanks for reading and happy rolling!
With joy and flavor,
Mia from EatBrightly
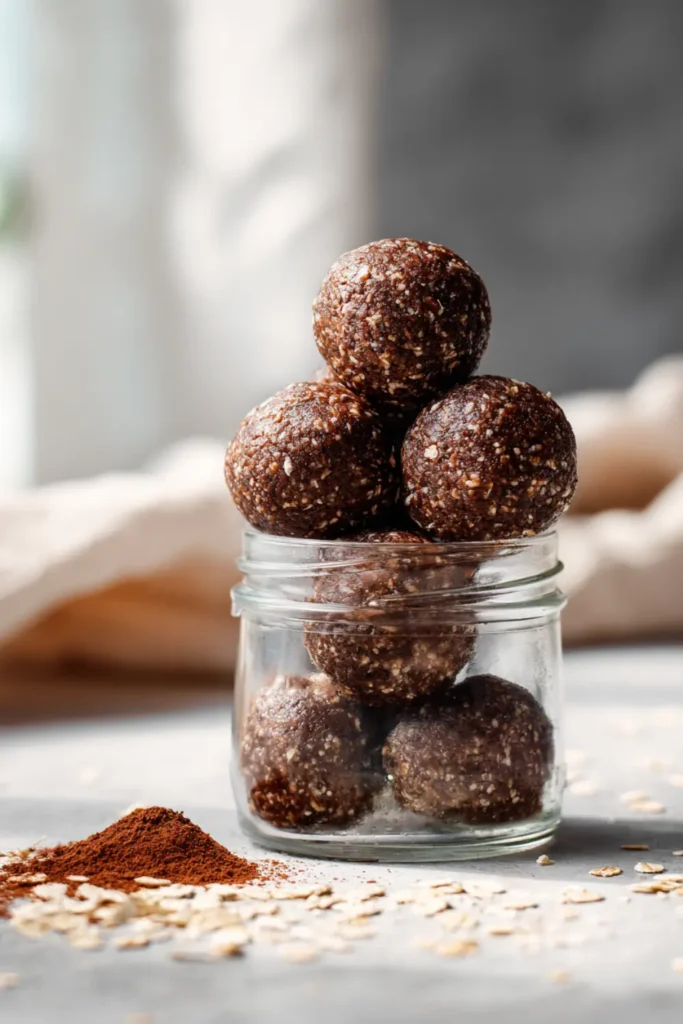
Chocolate Protein Balls
These no-bake Chocolate Protein Balls are the perfect healthy snack: rich, chocolatey, protein-packed, and customizable to suit any diet.
- Prep Time: 10 minutes
- Cook Time: 0 minutes
- Total Time: 10 minutes
- Yield: 12 balls 1x
- Category: Snack
- Method: No-Bake
- Cuisine: American
Ingredients
- 1 cup rolled oats
- 1/2 cup nut butter (almond, peanut, or cashew)
- 1/3 cup chocolate protein powder
- 1/4 cup maple syrup or 4 medjool dates (blended)
- 2 tbsp cacao powder
- 1 tbsp chia or flax seeds (optional)
- Pinch of sea salt
- 2–3 tbsp water or almond milk (as needed)
- Optional: 1/4 cup mini dark chocolate chips or cacao nibs
Instructions
- In a large bowl, combine oats, protein powder, cacao powder, chia/flax seeds, and salt.
- Add nut butter and maple syrup or blended dates. Mix until crumbly.
- Add water or almond milk, one tablespoon at a time, until the mixture is sticky but not wet.
- Fold in mini chocolate chips or cacao nibs if using.
- Roll about 1 tablespoon of mixture into balls and place on parchment paper.
- Chill in the fridge for 30 minutes to set, or enjoy immediately.
Notes
Store in an airtight container in the fridge for 5–7 days or freeze for up to 3 months. Adjust texture by adding more liquid or dry ingredients as needed.
Nutrition
- Serving Size: 1 ball
- Calories: 95
- Sugar: 4g
- Sodium: 60mg
- Fat: 6g
- Saturated Fat: 1g
- Unsaturated Fat: 4g
- Trans Fat: 0g
- Carbohydrates: 9g
- Fiber: 2g
- Protein: 4g
- Cholesterol: 0mg
Keywords: chocolate protein balls, healthy snack, no-bake, protein bites, energy balls

